
Introduction
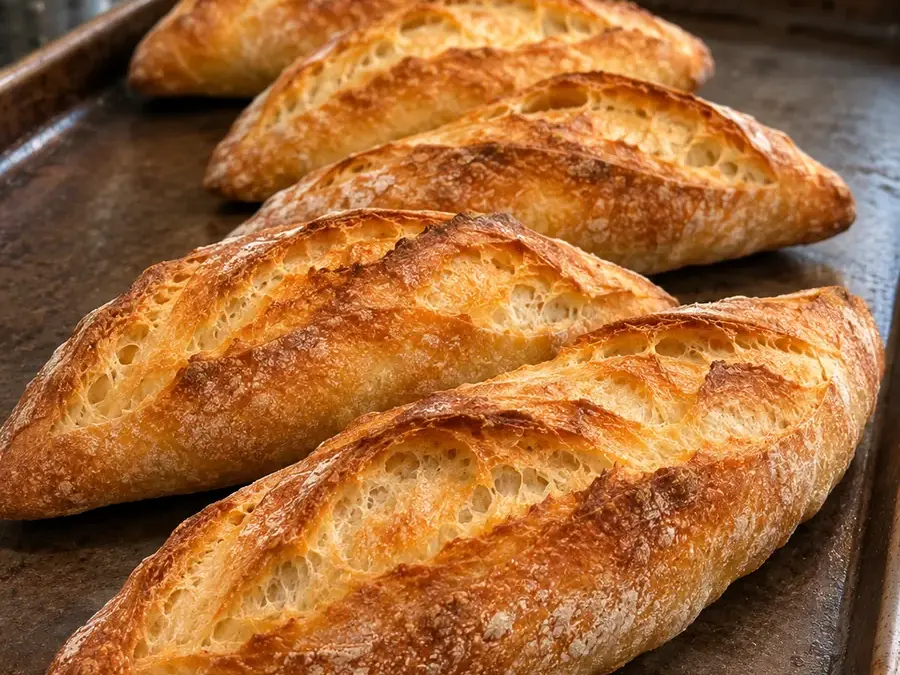
Rustic Mini Sourdough Baguettes bring a crisp crust, a gently chewy middle, and the mellow tang of natural fermentation to a manageable home-oven size. Four short loaves fit on one baking sheet, giving you bread for dinner, sandwiches, or a small stash in the freezer without wrestling with full-length baguettes.
The dough begins with already-ripe starter and develops strength through folds during a warm, unhurried rise. A covered start in the oven holds moisture around the loaves, helping their scored tops open before the crust firms.
Plan on about 9 hours and 40 minutes using the longer fermentation estimates, including cooling, with roughly 45 minutes of active preparation distributed throughout. Feeding and ripening the starter happen beforehand and are excluded. Your dough’s appearance matters more than the clock, especially in a cool kitchen.
Why You’ll Love This Recipe
Four individual loaves make portioning practical. Serve one or two fresh and freeze the others whole, preserving more of their interior moisture than slicing everything immediately.
A simple flour, water, starter, and salt formula lets fermentation provide the flavor. There is no commercial yeast, and no sugar or fat to soften the intended crust.
The folding schedule builds strength inside the mixing bowl. You can watch the dough become smoother and more elastic without a long session of countertop kneading.
The short shape suits a standard home oven. Each 9-inch loaf offers plenty of crust while remaining wide enough for a small sandwich or several substantial soup-dipping slices.
Ingredients
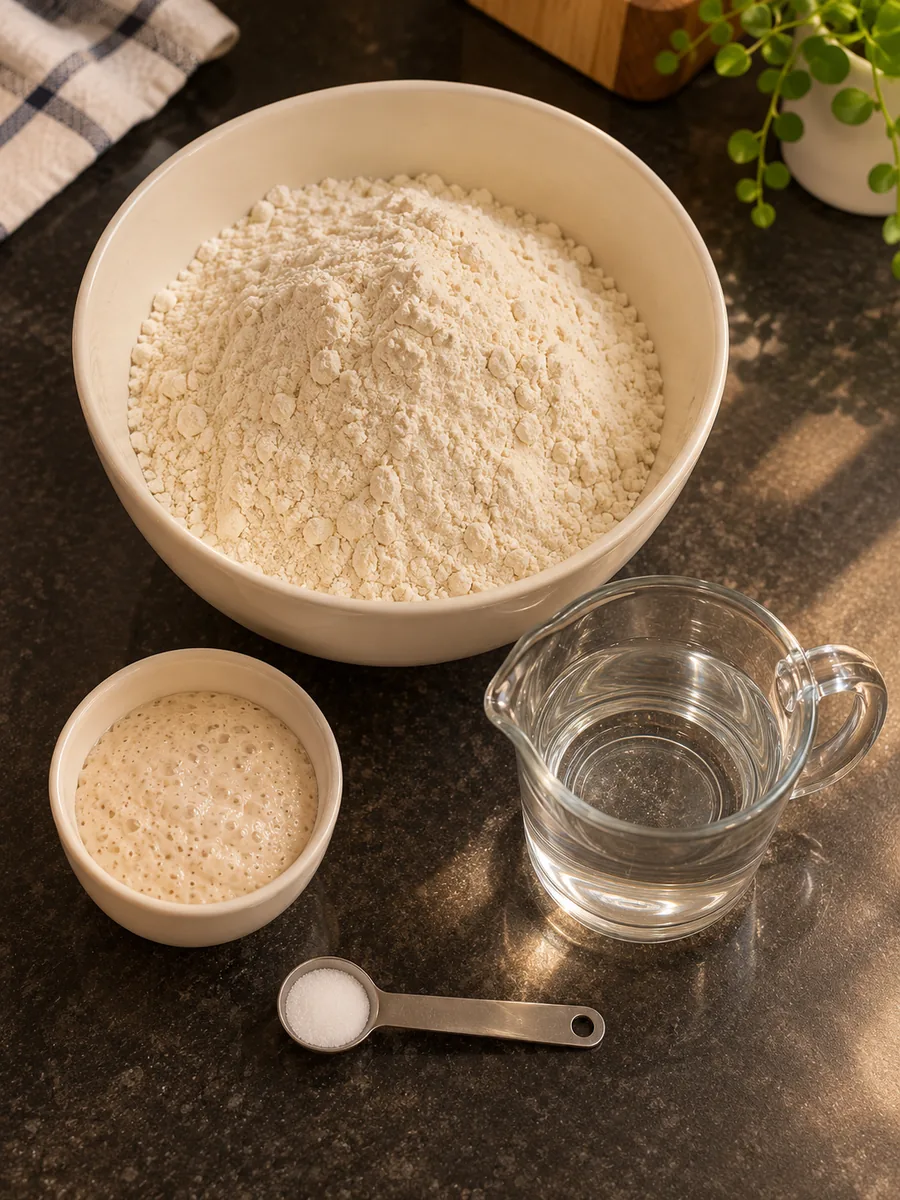
A scale is especially useful for starter, whose volume changes as bubbles develop. Cup measurements are approximations; gram weights define this formula.
The starter contributes 50 grams each of flour and water. Before shaping flour, the dough contains 450 grams of flour and 320 grams of water, about 71% hydration. Expect tackiness; use the measured shaping flour sparingly rather than adding extra.
- 3 cups plus 7 tablespoons bread flour (412 g), divided: 400 g for dough and 12 g for shaping
- Scant 1/2 cup ripe active sourdough starter (100 g), maintained at 100% hydration
- 1 cup plus 2 tablespoons water (270 g), about 78°F
- 1 1/2 teaspoons fine table salt (9 g)
Ingredient Notes and Substitutions
Use ripe starter maintained with equal weights of wheat flour and water, also called 100% hydration. It should be expanded, aerated, and pleasantly fermented, ideally near its peak. A starter that repeatedly doubles predictably after feeding is more useful here than a float test alone. Discard straight from the refrigerator is not an equivalent substitute.
Bread flour provides a helpful margin of strength for these slender loaves. All-purpose flour is a cautious substitution: brands differ, and the dough may spread more or need gentler handling. Keep the first attempt with bread flour if shaping baguettes is new to you.
Fine table salt gives the stated teaspoon weight. Coarse kosher salts vary greatly by brand, so weigh 9 grams if substituting. Water temperature is a starting point, not a fixed rule: use slightly cooler water in a hot room and warmer water in a cool room to encourage the stated fermentation conditions.
How to Make Rustic Mini Sourdough Baguettes
- Prepare: Line a 13-by-18-inch rimmed baking sheet with parchment rated for 450°F. Have a deep oven-safe metal roasting pan that covers all four loaves without touching them; check its fit first. Reserve 12 g bread flour for shaping.
- Mix: Stir the ripe sourdough starter into the water. Add 400 g bread flour and the salt. Squeeze and stir until no dry flour remains. The dough should be sticky and cohesive, holding a rough mound. Cover.
- Bulk ferment: Allow 6 hours at 75–78°F, checking from 4 hours. At 30, 60, and 90 minutes, use a scraper to fold the dough inward from four sides; cover between sessions. These rests belong to bulk fermentation. Continue until 60–75% larger, domed, bubbly at the edges, and lighter. Cooler dough may take longer.
- Shape: Allow 20 minutes for the bench rest. Dust the counter with half the reserved flour. Divide into four approximately 195 g pieces before dusting, form loose logs, cover, and rest. Distribute the remaining reserved flour over sticky surfaces. Gently flatten each log, fold the upper third inward, then fold lengthwise and pinch closed. Roll to 9 inches. Arrange seam down, parallel to the sheet’s short sides, with 2 inches between loaves.
- Final proof: Allow 90 minutes at 75–78°F, checking from 60 minutes. Cover loosely until puffy; a fingertip dent should return slowly and remain faintly visible. Meanwhile, preheat the oven to 450°F with a middle rack. Uncover and score each loaf with three overlapping diagonal cuts about 1/4 inch deep.
- Bake: Bake for 25 minutes at 450°F: cover with the inverted roasting pan for the first 15 minutes. Wearing oven mitts, lift the cover away from your face to release steam. Bake uncovered for the remaining 10 minutes, until deep golden and approximately 207°F inside. The cover traps dough moisture; add no water.
- Cool: Transfer immediately to a wire rack and cool for 40 minutes before slicing so the crumb can set.
Expert Baking Tips
Mark the dough’s starting height on a straight-sided container. A 60–75% increase is easier to judge against a reference than from memory, especially after folds have changed the surface.
Fold with steady, gentle tension. Lift only until the dough resists, then lay it across itself. Tearing strands repeatedly works against the strength you are trying to develop.
Use the bench rest to your advantage. If a log springs back while rolling, pause briefly within your shaping work and return to it after handling another piece.
Keep the final seam underneath each loaf. A poorly sealed seam can open along the side, diverting expansion away from the cuts on top.
Make decisive scores with a sharp bread lame, keeping fingers clear. Slightly overlapping cuts along the loaf’s length encourage a connected opening rather than isolated crosswise splits.
Check the roasting-pan clearance before mixing. Its interior must accommodate the spaced loaves and their oven expansion. Lift the hot cover with both hands protected, directing escaping steam away from your skin.
Common Mistakes to Avoid
Starting with sluggish starter can leave the dough dense even after a long wait. If your starter barely rises after feeding, strengthen its feeding routine before committing flour to this recipe. Longer fermentation cannot reliably compensate for every weak culture.
Finishing bulk fermentation by the clock alone can cause either tight bread or dough that collapses during shaping. Look for the combined signs of volume increase, bubbles, and a lighter feel. A very warm room can advance the dough sooner than expected.
Pressing every bubble out during shaping produces an unnecessarily uniform, compact crumb. Flatten enough to organize the piece and create a secure seam, while preserving some internal air.
Slicing hot loaves releases steam before the interior has settled. Follow the rack-cooling step even when the crust already feels firm; the center continues changing after baking.
Variations and Serving Ideas
For smaller dinner loaves, divide the same dough into six equal pieces and shape shorter batons. This changes the base yield and likely shortens baking, so watch color and center temperature instead of automatically following the four-loaf bake.
For a seeded variation, add a light coating of sesame seeds after shaping, using dampened hands to help them adhere. This adds an ingredient and changes the plain crust.
Serve the original loaves with lentil soup, a tomato salad, or soft cheese. Their modest size also works for picnic sandwiches: split lengthwise and fill shortly before eating so juicy ingredients do not soften the crust prematurely.
Storage and Freezing
These lean loaves are best the day they are baked. Once completely cool, keep them in a paper bag or loosely wrapped clean towel at room temperature for up to 1 day. Airtight plastic preserves softness but makes the crust less crisp.
For longer storage, wrap cooled loaves tightly and freeze for up to 2 months. Freeze whole for dinner bread, or split first if you usually make sandwiches. Thaw wrapped at room temperature, then unwrap before warming.
For a quick breakfast, toast split thawed bread until its edges are crisp and its center is warm. Whole loaves can also be sliced for toast after thawing. Bread that has become too dry for sandwiches makes useful croutons or breadcrumbs.
Frequently Asked Questions
Can I use unfed starter?
Use ripe, active starter for predictable leavening. Cold discard varies in acidity and strength and can substantially change both fermentation time and dough handling.
Does this include starter feeding time?
No. Begin with 100 grams of already-ripe starter. Feed your culture early enough to reach its usual peak before the planned mixing time.
Why are the loaves spreading?
Possible causes include weak flour, insufficient folding, loose shaping, or excessive fermentation. Compare the dough’s rise and strength with the stated cues before adding more flour.
Can I skip the roasting-pan cover?
You can bake uncovered, but the crust may set earlier and the scores may open less. Treat that as a variation with a different crust outcome.
How sour will they taste?
Expect mild to moderate tang rather than guaranteed sharp sourness. Starter maintenance, flour, fermentation temperature, and ripeness all influence the finished flavor.
Should the crumb have huge holes?
An irregular crumb is appropriate, but very large holes are not required. Good fermentation and careful shaping matter more than chasing a particular photograph.
Can I double the recipe?
Mixing a double batch is possible, but two sequential oven loads need staggered proofing. The published schedule covers one sheet baked all at once.
WP Tasty Recipe Card
PrintRustic Mini Sourdough Baguettes
- Total Time: 580 minutes
Ingredients
3 cups plus 7 tablespoons bread flour (412 g), divided: 400 g for dough and 12 g for shaping
Scant 1/2 cup ripe active sourdough starter (100 g), maintained at 100% hydration
1 cup plus 2 tablespoons water (270 g), about 78°F
1 1/2 teaspoons fine table salt (9 g)
Instructions
Prepare: Line a 13-by-18-inch rimmed baking sheet with parchment rated for 450°F. Have a deep oven-safe metal roasting pan that covers all four loaves without touching them; check its fit first. Reserve 12 g bread flour for shaping.
Mix: Stir the ripe sourdough starter into the water. Add 400 g bread flour and the salt. Squeeze and stir until no dry flour remains. The dough should be sticky and cohesive, holding a rough mound. Cover.
Bulk ferment: Allow 6 hours at 75–78°F, checking from 4 hours. At 30, 60, and 90 minutes, use a scraper to fold the dough inward from four sides; cover between sessions. These rests belong to bulk fermentation. Continue until 60–75% larger, domed, bubbly at the edges, and lighter. Cooler dough may take longer.
Shape: Allow 20 minutes for the bench rest. Dust the counter with half the reserved flour. Divide into four approximately 195 g pieces before dusting, form loose logs, cover, and rest. Distribute the remaining reserved flour over sticky surfaces. Gently flatten each log, fold the upper third inward, then fold lengthwise and pinch closed. Roll to 9 inches. Arrange seam down, parallel to the sheet’s short sides, with 2 inches between loaves.
Final proof: Allow 90 minutes at 75–78°F, checking from 60 minutes. Cover loosely until puffy; a fingertip dent should return slowly and remain faintly visible. Meanwhile, preheat the oven to 450°F with a middle rack. Uncover and score each loaf with three overlapping diagonal cuts about 1/4 inch deep.
Bake: Bake for 25 minutes at 450°F: cover with the inverted roasting pan for the first 15 minutes. Wearing oven mitts, lift the cover away from your face to release steam. Bake uncovered for the remaining 10 minutes, until deep golden and approximately 207°F inside. The cover traps dough moisture; add no water.
Cool: Transfer immediately to a wire rack and cool for 40 minutes before slicing so the crumb can set.
- Prep Time: 45 minutes
- Cook Time: 25 minutes