
Introduction
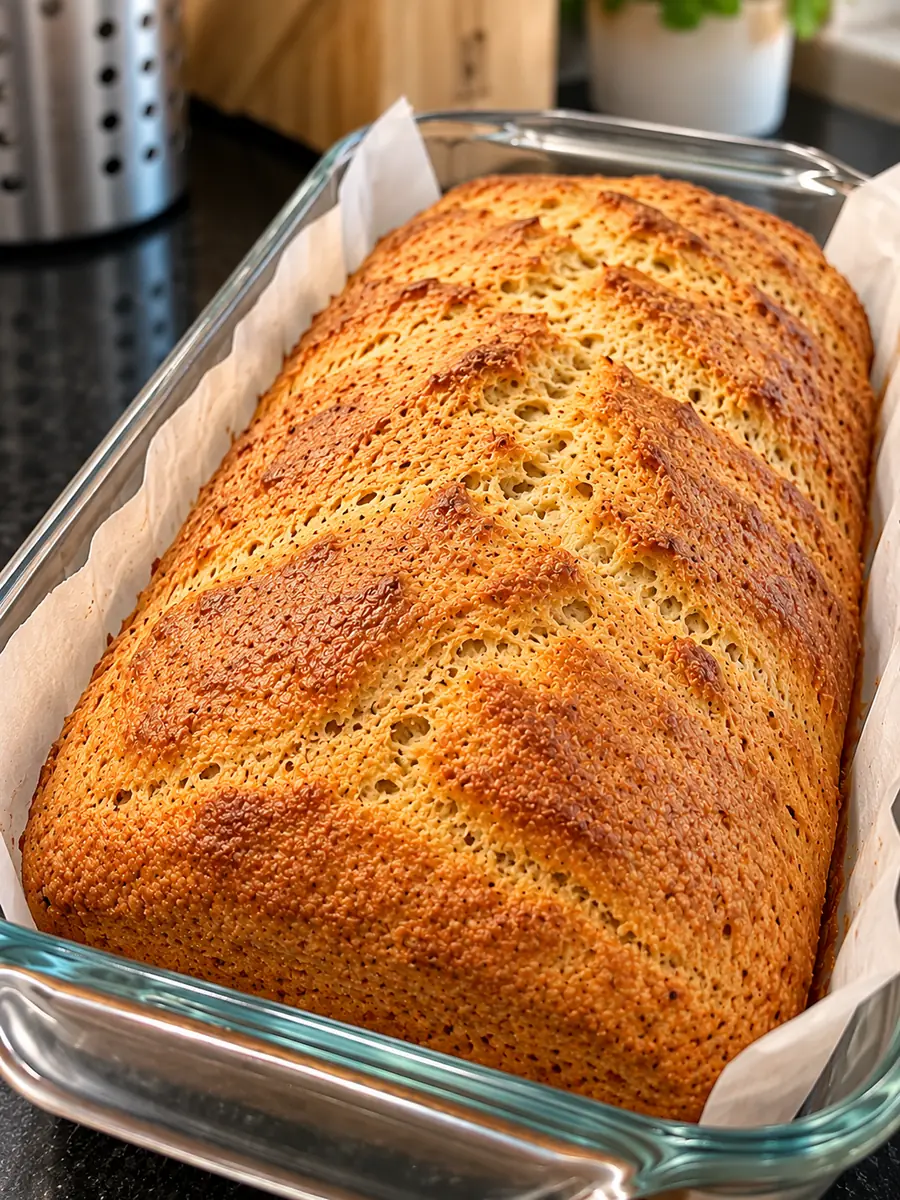
This 3-Ingredient High-Protein White Kidney Bean Bread turns cooked beans, eggs, and oat flour into a compact loaf with a mild, earthy flavor. Expect a close, moist crumb and a modest height. With no leavener, its structure comes from eggs setting around the bean puree and oat flour absorbing moisture.
The loaf suits small slices and careful reheating. It has a tender interior when freshly cooled and becomes firmer after refrigeration, which can make slicing easier. Smooth processing and accurate drained bean weight matter more here than elaborate bread-making technique. Plan to serve it in portions that you can lift comfortably without bending the slices.
The high-protein claim in the requested title has not been verified and requires human nutritional review. Beans and eggs supply protein, but this recipe does not establish a particular amount per serving. Makes 8 servings, each one substantial slice.
Why You’ll Love This Recipe
Three distinct ingredients keep shopping straightforward. Choose plain canned beans, eggs, and finely ground oat flour, then use parchment to line the pan without adding another edible ingredient.
There is no kneading or rising schedule to manage. A food processor handles the beans, and a bowl makes it easy to incorporate the flour evenly.
The mild bean flavor works well for anyone who enjoys simple, savory-leaning bread. Gentle oven reheating brings out the oats and dries the cut surfaces. This gives chilled portions a different texture without changing the ingredients in the original loaf.
Eight portions make storage practical. Refrigerate what you will eat soon and freeze individual slices so you can remove only the amount you need.
Ingredients
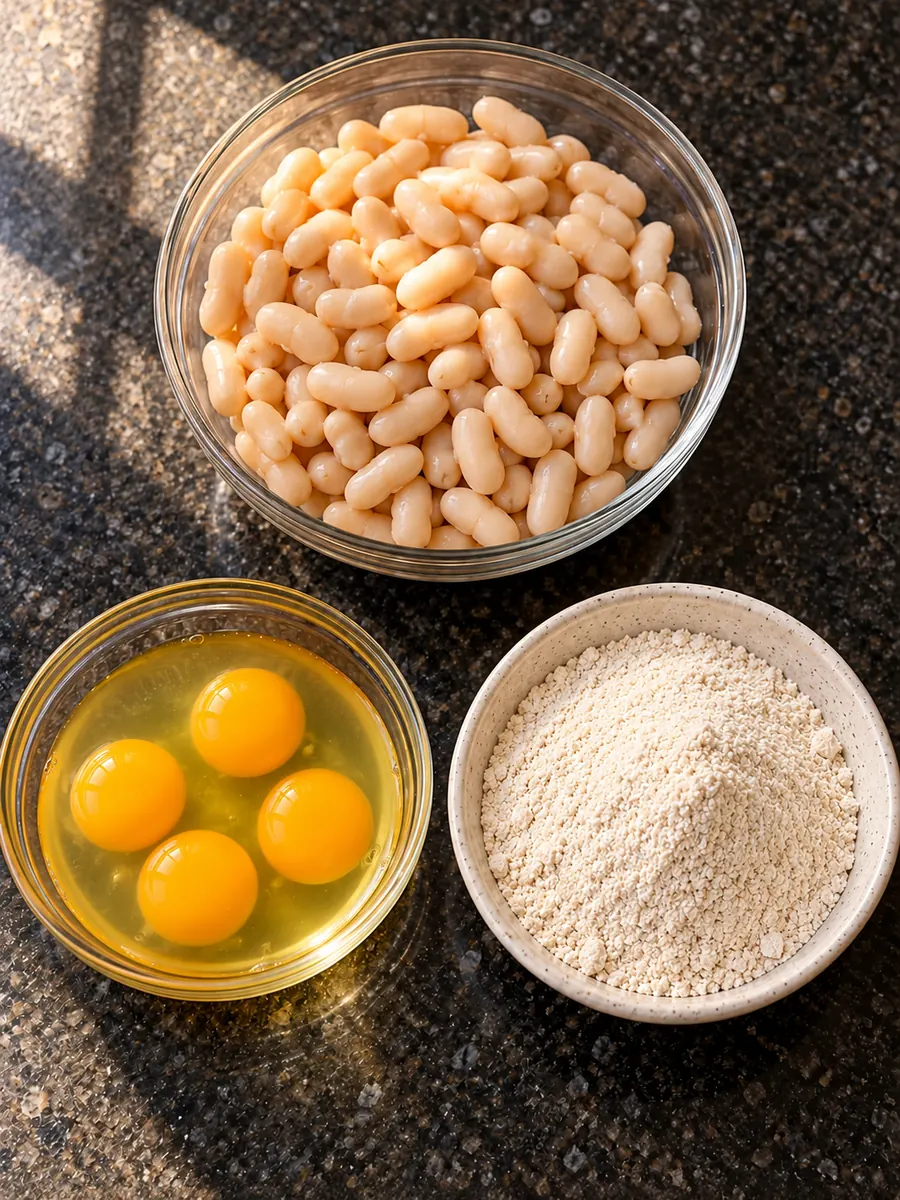
Each ingredient does a different job: beans provide the body, eggs bind the loaf, and oat flour helps manage the considerable moisture. Keep all three at the stated weights for the first batch. The cup measurements are convenient guides, but drained beans and loosely packed flour can vary considerably.
Use commercially canned unsalted white kidney beans with only beans and water on the label. Cannellini is another common name for white kidney beans. Purchase enough cans to obtain the full drained amount; the labeled can weight includes liquid. Four large eggs should provide approximately the specified edible weight after their shells are removed.
- 3 cups commercially canned unsalted white kidney beans, drained and rinsed (480 g drained weight)
- 4 large eggs, shells removed (200 g)
- 1 1/3 cups finely ground oat flour (120 g)
Ingredient Notes and Substitutions
Commercially canned beans are already cooked. Drain them thoroughly after rinsing, without squeezing or drying them into a paste. Loose surface moisture changes batter consistency, while the moisture inside the beans is an intended part of the formula. Never use raw, soaked-only, or slow-cooked-from-raw kidney beans in this recipe.
Finely ground oat flour is important because coarse particles absorb moisture less evenly and can leave a gritty crumb. Weigh it before mixing. If your flour has compacted in its container, stir it loose before spooning it into a measuring cup.
Egg size matters in such a short ingredient list. Use the edible weight when available, especially if your carton contains noticeably small or oversized eggs. Changing the proportion of yolk and white changes both richness and setting behavior and would need separate development.
Different bean varieties and different flours also change moisture absorption. Neither is a dependable equal-weight substitution here. Keep the original three ingredients while learning the expected texture.
How to Make 3-Ingredient High-Protein White Kidney Bean Bread
- Heat the oven to 350°F with a rack in the middle. Line an 8.5-by-4.5-inch metal loaf pan with oven-safe parchment rated for this temperature, covering the bottom and sides and leaving lifting handles. Drain and rinse the commercially canned white kidney beans. Let excess liquid drip away, then weigh 480 g. Do not include canning liquid in that weight.
- Process the beans in a food processor until they form a thick puree, stopping to scrape the bowl and blade area as needed. Add the eggs and process just until smooth and evenly blended. Small flecks of bean skin are fine, but break down any whole beans. Do not taste the raw mixture. Wash hands and food-contact equipment after handling raw eggs.
- Transfer the puree to a bowl. Fold in the oat flour until no dry pockets remain, scraping across the bottom. The mixture should be a thick, spoonable batter that holds soft ridges, rather than a kneadable dough. Scrape it into the lined pan, press gently into the corners, and level the surface. Bake promptly; there is no proofing or bench rest.
- Bake for 60 minutes, checking at 50 minutes. The top should look dry and lightly golden, the edges should feel firm, and a thermometer inserted into the center should read 200°F. Verify that center temperature before removing this egg-containing loaf. If necessary, continue baking until the center reaches the stated target; oven differences can extend the estimated baking time.
- Cool in the pan on a wire rack for 10 minutes. Carefully lift out the loaf using both parchment handles, supporting its bottom with a wide spatula. Ease away the parchment and cool directly on the rack for 50 minutes. Cut into 8 portions and refrigerate promptly. In surroundings above 90°F, finish cooling in the refrigerator rather than on the counter.
Expert Baking Tips
Use the specified metal pan. Its dimensions keep the batter at a manageable depth, and metal transfers heat efficiently. A different pan material can change how quickly the center sets relative to the edges.
Scrape the food processor thoroughly while pureeing. Whole beans create weak spots that can interrupt a slice, especially when the loaf is still slightly warm.
Fold the flour through the bottom of the bowl. A smooth surface can conceal dry flour underneath, and those pockets cannot hydrate properly once the batter is in the oven.
Check temperature in the middle of the loaf, keeping the probe away from the pan bottom. A browned edge gives little information about the wettest part of this bean-rich mixture.
Ease the parchment away while supporting the loaf. Leaving it wrapped holds steam against the sides and bottom, making the exterior softer and wetter as it cools.
For neat portions, use a sharp serrated knife with light sawing motions. If the crumb compresses, refrigerate the cooled loaf before trying again.
Common Mistakes to Avoid
Measuring beans before draining includes liquid that the formula does not need. Likewise, filling a cup with beans and a pool of residual liquid can produce a looser batter. Let visible drips subside, then measure the drained edible beans.
Expecting a high dome leads to unnecessary adjustments. This is an unleavened loaf, so substantial expansion is not the goal. Adding more eggs to encourage lift also adds moisture and changes the binding balance.
Removing the loaf based only on its browned surface can leave a fragile, pasty center. Use the recipe’s internal temperature target together with the surface and edge cues, then allow the full cooling period.
Cutting straight from the oven releases steam while the interior is still delicate. Heavy downward pressure can squash the loaf and make an otherwise usable slice appear gummy.
Variations and Serving Ideas
Keep variations focused on portioning and texture. Cut the cooled loaf into 8 thick slices, or divide those slices in half for 16 smaller pieces while retaining two pieces per serving.
For a drier eating texture, warm slices on a bare oven-safe tray at 350°F, turning once and checking their centers with a thermometer. Refrigerated leftovers must reach 165°F before serving.
You can also cut a cooled serving into broad strips and warm them using the same temperature guidance. Handle the strips gently because narrow pieces break more easily. These changes preserve the original three ingredients while giving you different shapes for eating.
Storage and Freezing
Treat this as a moist cooked bean and egg dish. Refrigerate within two hours after baking, or within one hour above 90°F. Store at 40°F or below and use within 3–4 days. The standard cooling schedule leaves time to package and refrigerate it promptly.
Once chilled, place slices in a covered container. Separate them with parchment if needed. For freezing, wrap individual portions and place them in a freezer-safe container; use within two months for best quality. Label the container with the baking date so leftovers are easy to track.
Thaw frozen portions in the refrigerator. Reheat leftovers to an internal temperature of 165°F, checking the center rather than judging by a hot surface. Warm only the portions you intend to eat so the remaining loaf stays refrigerated.
Frequently Asked Questions
Does this rise like sandwich bread?
Expect little rise. The bean batter sets into a compact loaf with moist, close-textured slices.
Can I use the liquid from the can?
Drain it away and measure only rinsed beans. Moisture from the beans and eggs is already included; extra liquid can weaken the crumb.
Why does my cooled slice seem soft?
Beans retain moisture, so some softness is expected. Refrigeration firms the loaf. A wet or pasty center suggests it needed further baking.
Is this recipe gluten-free?
Oat flour may have cross-contact with gluten-containing grains. Choose oat flour labeled gluten-free if that is necessary for your household.
How long should I allow?
Plan on about 2 hours 20 minutes: 20 minutes active preparation, 60 minutes baking, and 60 minutes cooling. Preheating overlaps preparation; baking may take longer.
Can I mix it entirely by hand?
A processor is preferable for breaking down bean skins. Hand-mashing may leave a coarse puree with weaker slices.
Should I pack the oat flour into the cup?
Spoon it in loosely and level the top. Packing adds excess flour, making the batter stiffer and potentially leaving slices dry or crumbly.
WP Tasty Recipe Card
Print3-Ingredient High-Protein White Kidney Bean Bread
- Total Time: 140 minutes
Ingredients
3 cups commercially canned unsalted white kidney beans, drained and rinsed (480 g drained weight)
4 large eggs, shells removed (200 g)
1 1/3 cups finely ground oat flour (120 g)
Instructions
Heat the oven to 350°F with a rack in the middle. Line an 8.5-by-4.5-inch metal loaf pan with oven-safe parchment rated for this temperature, covering the bottom and sides and leaving lifting handles. Drain and rinse the commercially canned white kidney beans. Let excess liquid drip away, then weigh 480 g. Do not include canning liquid in that weight.
Process the beans in a food processor until they form a thick puree, stopping to scrape the bowl and blade area as needed. Add the eggs and process just until smooth and evenly blended. Small flecks of bean skin are fine, but break down any whole beans. Do not taste the raw mixture. Wash hands and food-contact equipment after handling raw eggs.
Transfer the puree to a bowl. Fold in the oat flour until no dry pockets remain, scraping across the bottom. The mixture should be a thick, spoonable batter that holds soft ridges, rather than a kneadable dough. Scrape it into the lined pan, press gently into the corners, and level the surface. Bake promptly; there is no proofing or bench rest.
Bake for 60 minutes, checking at 50 minutes. The top should look dry and lightly golden, the edges should feel firm, and a thermometer inserted into the center should read 200°F. Verify that center temperature before removing this egg-containing loaf. If necessary, continue baking until the center reaches the stated target; oven differences can extend the estimated baking time.
Cool in the pan on a wire rack for 10 minutes. Carefully lift out the loaf using both parchment handles, supporting its bottom with a wide spatula. Ease away the parchment and cool directly on the rack for 50 minutes. Cut into 8 portions and refrigerate promptly. In surroundings above 90°F, finish cooling in the refrigerator rather than on the counter.
- Prep Time: 20 minutes
- Cook Time: 60 minutes