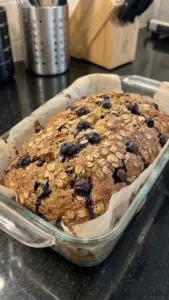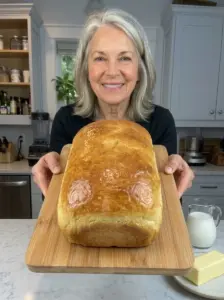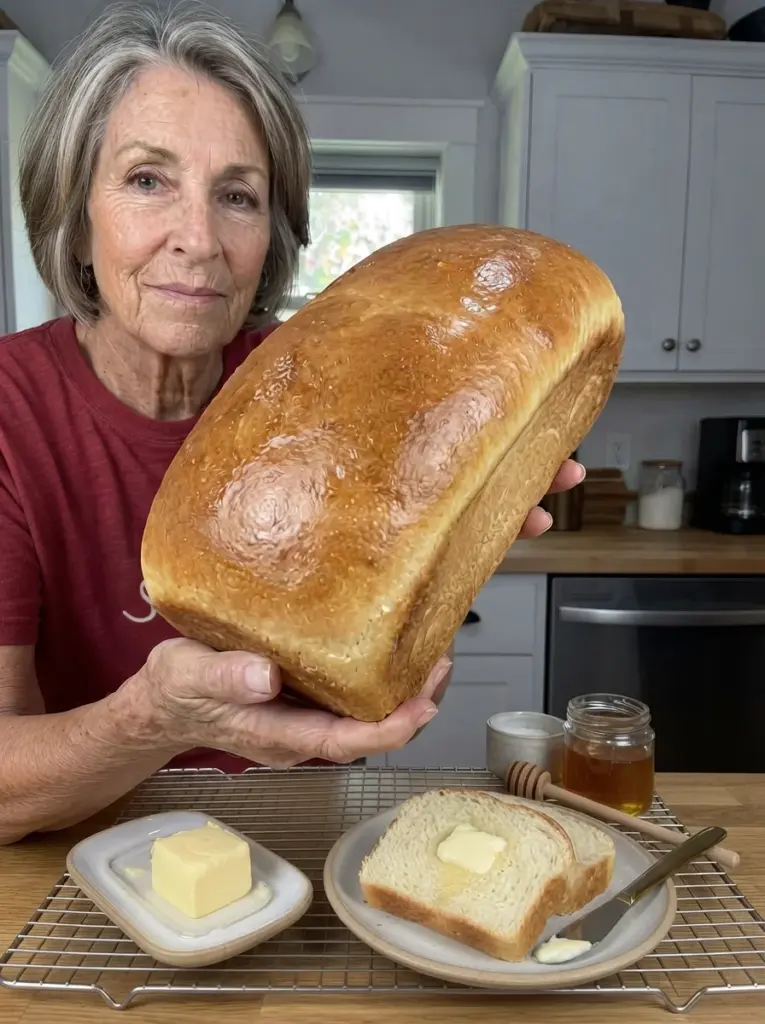
Easy No-Knead Honey Milk Bread is a softly sweet homemade loaf with a tender crumb, golden crust, and comforting buttery flavor. Whole milk enriches the dough, honey adds gentle sweetness, and a little melted butter makes each slice delicious for breakfast toast or everyday sandwiches.
You can mix the dough with a sturdy spoon, let it rise in the bowl, and shape it into a simple loaf before its second rise. There is no stand mixer or extended kneading session required. Most of the time is hands-off while the dough rises and the baked bread cools.
Serve it with butter and jam, turn it into grilled cheese, or save a few slices for French toast. Its mild honey flavor works with both sweet and savory fillings.
This is a suggested recipe formula and has not been kitchen-tested. Use the dough descriptions and doneness cues alongside the estimated times, since flour absorption and kitchen temperature vary.
Recipe at a Glance
- Yield: 1 loaf, approximately 12 slices
- Pan: 9 × 5-inch metal loaf pan
- Active preparation: About 20 minutes
- First rise: 60–90 minutes, or longer in a cool kitchen
- Second rise: 35–60 minutes
- Baking: 35–40 minutes
- Cooling: Approximately 90 minutes
- Total: Approximately 4–5 hours, including cooling
- Oven temperature: 350°F
Why You’ll Love This Honey Milk Bread
- Simple mixing: A bowl and spoon do the work of combining the dough.
- Gentle sweetness: Honey adds flavor without making the loaf taste like cake.
- Tender slices: Milk, egg, and butter enrich the crumb.
- Everyday versatility: Use it for toast, sandwiches, and French toast.
- Convenient freezing: Freeze individual slices for another day.
What Is Honey Milk Bread?
Honey milk bread is an enriched yeast bread made with milk and sweetened with honey. The milk contributes richness, the butter helps tenderize the crumb, and the egg adds structure and color.
This version is a straightforward sandwich loaf. It does not use a cooked flour paste, such as tangzhong, and you should expect a soft homemade crumb rather than assume it will match the texture of a bakery’s Japanese milk bread.
The no-knead method depends on thorough initial mixing and enough fermentation time. Brief shaping gives the loaf a tidy form, but you do not need to repeatedly knead it on the counter.
Ingredients
For the Dough
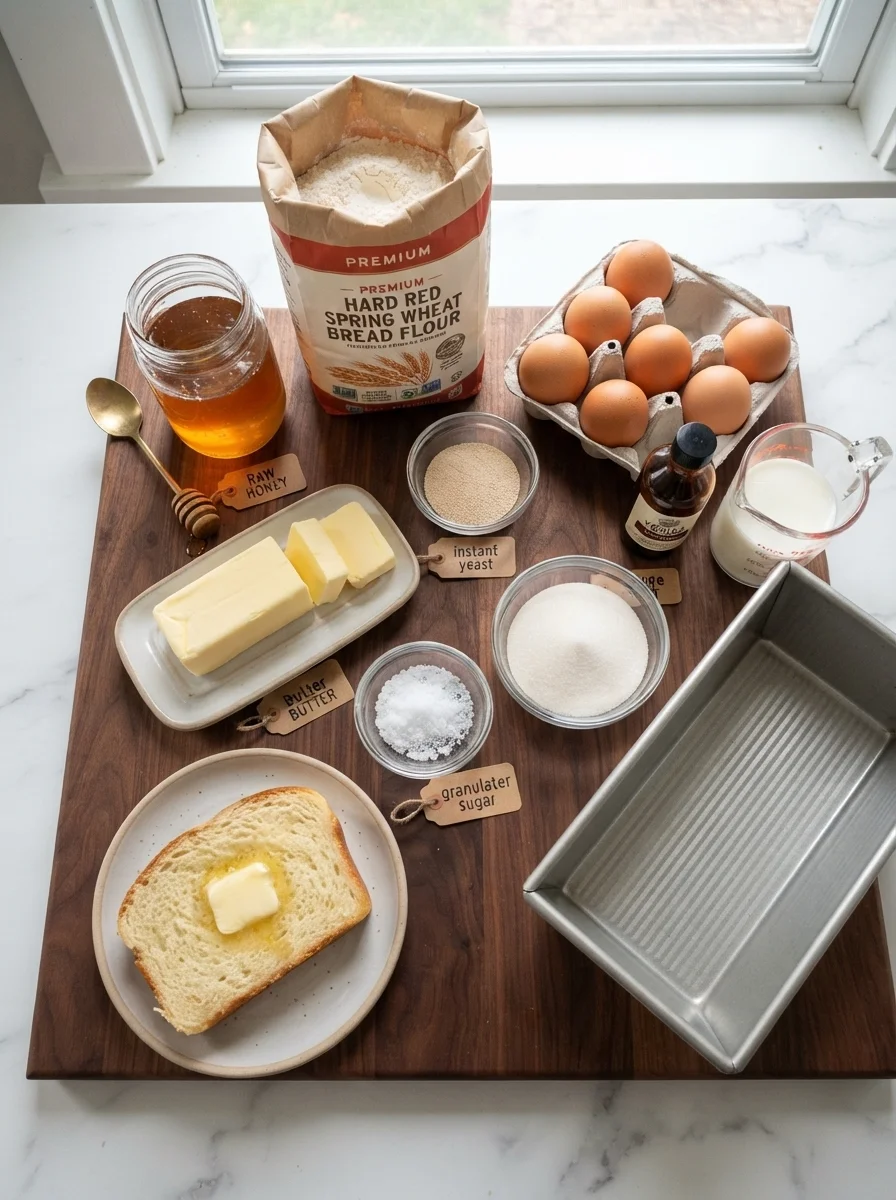
- 3¼ cups all-purpose flour, spooned into the measuring cup and leveled, plus a little for shaping
- 2¼ teaspoons instant yeast, or 1 standard packet
- 1¼ teaspoons fine salt
- 1 cup whole milk, lukewarm
- 3 tablespoons honey
- 1 large egg, at room temperature
- 3 tablespoons unsalted butter, melted and cooled until just warm
For the Pan and Finishing
- A little softened butter or neutral oil, for greasing the pan
- 1 tablespoon melted unsalted butter, optional, for brushing the baked loaf
Ingredient Notes
Flour
All-purpose flour is the starting point for this formula. Fluff it in its container, spoon it into the cup, and level the top. Avoid scooping directly from a compacted bag, which can give you more flour than intended.
Bread flour can be used, but it may make the loaf chewier and change how much liquid the dough absorbs. Judge the dough after a brief hydration rest before adding extra milk or flour.
Self-rising flour is not appropriate here because it contains added leavening and salt. Whole wheat flour and gluten-free blends also need a separately adjusted formula.
Honey
Use a mild honey, such as clover or another light variety, if you want a gentle flavor. Darker, stronger honeys will be more noticeable.
Honey adds moisture as well as sweetness. That is one reason to keep additional liquid adjustments small. Three tablespoons should produce mild sweetness; this is not intended as a strongly sweet breakfast bread.
Do not simply pour in a large extra quantity for more honey flavor. Additional honey changes the dough’s moisture, fermentation, and browning.
Whole Milk
Warm the milk until lukewarm, approximately 95–105°F. It should feel comfortably warm rather than hot. Overheated liquid can damage yeast, while cold liquid slows the rise.
Whole milk adds richness. A similar amount of 2% milk is a reasonable alternative, although the finished loaf may be slightly less rich.
Instant Yeast
Instant yeast can be stirred directly into the flour. Check its freshness and follow the package’s storage instructions.
For active dry yeast, follow its package directions for hydration. It can generally be dissolved in the measured lukewarm milk with a little of the recipe’s honey before mixing. Rising times may differ.
Egg and Butter
A room-temperature egg combines more readily with the other ingredients. Melt the butter, then let it cool until just warm before adding it to the milk and egg.
Unsalted butter gives you more control over seasoning. The optional finishing butter is applied after baking and is separate from the butter in the dough.
Salt
Fine salt distributes easily during mixing. Different coarse salts have different volumes, so a spoonful of one product may not season the bread like a spoonful of another.
Equipment
You will need a large bowl, sturdy spoon or dough whisk, spatula, clean cover, and a 9 × 5-inch metal loaf pan. A bench scraper helps with sticky dough, and a wire rack allows the loaf to cool without trapping steam underneath.
An instant-read thermometer is useful for checking the center, although the loaf’s color and structure matter too. If your pan tends to stick, add a parchment sling after greasing it.
How to Make Easy No-Knead Honey Milk Bread
1. Prepare the Liquids
Warm the milk gently. Stir in the honey until it disperses, then whisk in the egg and the melted, slightly cooled butter.
If the mixture feels hot, let it cool before combining it with the yeast. It should be lukewarm.
2. Mix the Dry Ingredients
In a large bowl, stir together the flour, instant yeast, and salt. Distribute everything evenly so you do not leave concentrated pockets in the dough.
3. Stir the Dough Thoroughly
Pour the milk mixture into the flour mixture. Stir firmly for 2–3 minutes, scraping the bottom and sides of the bowl, until there are no dry patches.
The dough should be soft, sticky, and cohesive. It should hold together as a thick mass rather than pour like batter.
Cover and let it rest for about 10 minutes if you are unsure about the texture. Flour continues to absorb moisture during this pause. If dry flour still will not incorporate, add milk a teaspoon at a time. If the dough is unusually loose and batter-like, add flour a tablespoon at a time, mixing well after each addition.
Do not add enough flour to make the dough completely dry and easy to handle. Its softness is part of the intended texture.
4. Let the Dough Rise
Cover the bowl so the surface stays moist. Leave it in a comfortably warm, draft-free place for approximately 60–90 minutes, until roughly doubled.
Look for visible expansion, a puffier surface, and a few small bubbles. A cool kitchen can make this take longer. Move on when the dough is ready, rather than when the suggested time expires.
Avoid hot surfaces and an actively heating oven. Gentle warmth is enough.
5. Prepare the Pan
Grease a 9 × 5-inch metal loaf pan, including the corners. If using a parchment sling, leave enough overhang to help lift out the bread later.
A larger pan will produce a shorter loaf. A smaller pan may not provide enough space for the rising dough.
6. Shape the Loaf
Lightly flour the counter and your hands. Scrape the dough onto the work surface and gently press it into a rectangle about 8 inches wide.
Roll into a short log that fits the pan. Gently pinch the seam and place it seam-side down in the prepared pan. Tuck the ends slightly if needed.
Keep this step brief. Use a scraper to lift sticky dough rather than repeatedly working flour into it.
7. Allow the Second Rise
Cover the pan loosely and let the dough rise for approximately 35–60 minutes. It should look puffy, with the center near the rim or slightly above it.
A very light fingertip indentation should return slowly. Dough that springs back immediately may need more time; dough that looks fragile or begins to collapse should be baked promptly.
During the latter part of the rise, preheat the oven to 350°F with a rack in the lower-middle position.
8. Bake
Remove the cover and bake for approximately 35–40 minutes, until golden brown and baked through.
Honey encourages browning, so check the color during baking. If the top becomes dark before the center is ready, loosely tent it with foil and continue baking.
An internal temperature around 190–200°F is a useful guide for this enriched loaf. Insert the probe into the center without touching the pan, and assess it alongside the loaf’s set exterior. Oven and pan differences may require extra time.
9. Brush and Cool
Brush the hot top with the optional tablespoon of melted butter. Rest the loaf in the pan for about 10 minutes, then turn it out onto a wire rack.
Cool for approximately 90 minutes, or until no longer warm in the center, before slicing. The soft crumb needs time to settle as steam escapes.
Tips for a Tender Loaf
Measure flour lightly. Extra flour can make this dough unnecessarily stiff and the bread heavier.
Mix beyond the shaggy stage. No-knead dough still needs all its ingredients fully incorporated.
Keep adjustments small. Add milk by the teaspoon or flour by the tablespoon after allowing time for hydration.
Watch the dough during both rises. Temperature changes the schedule, especially in an enriched dough.
Protect the crust from early browning. Tent with foil when needed instead of removing an underbaked loaf because the top looks ready.
Cool before cutting. A warm slice may be tempting, but cutting too soon can compress the crumb and create a gummy impression.
Troubleshooting
| Problem | Possible cause | What to try |
|---|---|---|
| Dough is slow to rise | Cool kitchen, cold ingredients, or weak yeast | Give steadily expanding dough more time; check yeast freshness next time. |
| Dough feels stiff | Too much flour or insufficient liquid | Allow a hydration rest, then add milk in small increments if needed. |
| Dough is difficult to shape | Sticky surface or an unusually loose mix | Use lightly floured hands and a scraper; avoid adding large amounts of flour. |
| Loaf is dense | Too much flour or insufficient fermentation | Measure lightly and wait for the rise cues. |
| Top browns early | Honey, a hot-running oven, or dark cookware | Tent loosely with foil and check the center before removing the loaf. |
| Loaf sinks | Overproofing or an underbaked center | Avoid a fragile second rise and confirm doneness. |
| Slices seem gummy | Cut warm or insufficiently baked | Cool completely and check the center carefully during baking. |
Variations
Cinnamon Honey Bread
Add 1 teaspoon ground cinnamon to the flour. Cinnamon can slow fermentation, so watch the rise rather than expecting the same schedule. This gives a gentle spice flavor without adding a filling.
Sesame-Topped Loaf
Lightly brush the risen dough with milk and sprinkle with sesame seeds before baking. Use a light touch to avoid deflating it.
Honey Butter Finish
For a sweeter crust, mix 1 teaspoon honey into the optional tablespoon of melted finishing butter. Brush over the baked top. The surface will be slightly stickier than with butter alone.
Toasted Breakfast Slices
Keep the loaf plain, then toast slices and add cinnamon, nut butter, or jam at serving time. This lets you vary the flavor without changing the dough.
These are suggested variations and have not been separately kitchen-tested. Start with the plain loaf if you want to learn the dough’s consistency first.
Serving Suggestions
This loaf pairs well with butter and fruit preserves, scrambled eggs, or a simple cheese sandwich. Its mild sweetness also complements turkey and mustard or a warm grilled cheese filling.
Use slightly stale slices for French toast so they can absorb the egg mixture without falling apart as readily. Leftover cubes can be used for bread pudding, while dry slices can be turned into breadcrumbs.
For sandwich slices, use a serrated knife and a gentle sawing motion once the loaf has cooled fully. Thick slices are especially good toasted.
Storage and Freezing
Room Temperature
Store the completely cooled plain loaf in a bread bag or airtight container for approximately 2–3 days in a cool, dry kitchen. Warm, humid conditions can shorten that time. Discard the loaf if mold develops.
Avoid sealing it while warm, since trapped condensation can make the crust damp.
Refrigeration
Refrigeration can make bread stale faster. For portions you will not eat soon, freezing is usually more useful. Sandwiches made with perishable fillings need storage appropriate to those ingredients.
Freezing
Slice the cooled loaf, place in a freezer-safe bag, and freeze for up to 2–3 months for best quality. Add parchment between slices if you want them to separate easily.
Press out excess air gently without compressing the bread.
Reheating
Toast individual slices directly from frozen, or thaw them while wrapped. To warm several slices, wrap loosely in foil and heat in a 300°F oven until warm. Prolonged heating can dry out the crumb.
Frequently Asked Questions
Will the bread taste strongly of honey?
With a mild honey, expect gentle sweetness and a subtle honey flavor. Darker honey will taste more distinctive.
Can I add more honey?
A large increase changes moisture, browning, and fermentation. Keep the dough as written and add honey at serving time if you want a sweeter slice.
Can I skip the egg?
The egg contributes both liquid and structure. An egg-free loaf needs an adjusted formula rather than simply omitting it.
Do I need to knead after the first rise?
No extended kneading is included. Gently pressing and rolling the dough is enough for the shaping step.
Can I use a glass pan?
Glass transfers heat differently from metal. Follow the manufacturer’s guidance and watch browning and center doneness closely. The suggested baking time is intended for a metal pan.
Why did my dough need longer than 90 minutes?
A cool room, cool ingredients, or less-active yeast can slow fermentation. If the dough is steadily expanding, give it time. If there is no activity at all, ingredient temperature and yeast condition are worth checking.
Can I turn it into rolls?
The dough could be portioned differently, but proofing, pan arrangement, and baking time would change. This article’s instructions are for one sandwich loaf.
Why does the crust soften after baking?
An enriched loaf naturally has a softer crust than a lean crusty bread. The optional butter finish softens it further, and moisture moves outward as the loaf cools.
Recipe Card: Easy No-Knead Honey Milk Bread
Yield: 1 loaf, about 12 slices
Pan: 9 × 5-inch metal loaf pan
Active preparation: About 20 minutes
Rising: 95–150 minutes, or longer in a cool kitchen
Baking: 35–40 minutes
Cooling: Approximately 90 minutes
Total: Approximately 4–5 hours
Ingredients
- 3¼ cups all-purpose flour, spooned and leveled, plus a little for shaping
- 2¼ teaspoons instant yeast
- 1¼ teaspoons fine salt
- 1 cup whole milk, lukewarm
- 3 tablespoons honey
- 1 large egg, at room temperature
- 3 tablespoons unsalted butter, melted and cooled until just warm
- A little butter or neutral oil for the pan
- 1 tablespoon melted butter for finishing, optional
Instructions
- Whisk the lukewarm milk, honey, egg, and melted butter together.
- In a large bowl, stir together the flour, instant yeast, and salt. Add the milk mixture and stir firmly for 2–3 minutes, until no dry flour remains. The dough should be soft and sticky. Rest briefly before making small consistency adjustments if needed.
- Cover and let rise until roughly doubled, approximately 60–90 minutes or longer in cool conditions.
- Grease the loaf pan. Transfer the dough to a lightly floured surface, gently press into a rectangle, and roll into a short log. Place seam-side down in the pan.
- Cover loosely and let rise until puffy and near or slightly above the rim, approximately 35–60 minutes. Preheat the oven to 350°F.
- Bake for 35–40 minutes, tenting with foil if the top browns early. Check that the center is baked through; approximately 190–200°F is a useful internal temperature guide.
- Brush with optional finishing butter. Rest in the pan for 10 minutes, then transfer to a wire rack and cool completely before slicing.
Approximate Nutrition
For 12 slices, estimate 190–210 calories and 4–5 grams of protein per slice, depending on the flour, milk, and use of finishing butter. These are approximate ingredient-based values. Slice thickness, brands, fillings, and spreads change the final nutrition.
Notes
- This suggested formula has not been kitchen-tested.
- Follow the dough’s expansion rather than relying only on rise times.
- Keep the dough soft and avoid adding excessive flour during shaping.
- Total time includes cooling; allow extra time in a cold kitchen.
Final Thoughts
The combination of honey, milk, and butter makes this loaf useful for both breakfast and everyday sandwiches. Thorough stirring, patient rising, and careful baking are the main steps to focus on. Give the finished loaf time to cool, then slice and freeze any extra portions while they are fresh.
Print
Easy No-Knead Honey Milk Bread
Description
Yield: 1 loaf, about 12 slices
Pan: 9 × 5-inch metal loaf pan
Active preparation: About 20 minutes
Rising: 95–150 minutes, or longer in a cool kitchen
Baking: 35–40 minutes
Cooling: Approximately 90 minutes
Total: Approximately 4–5 hours
Ingredients
- 3¼ cups all-purpose flour, spooned and leveled, plus a little for shaping
- 2¼ teaspoons instant yeast
- 1¼ teaspoons fine salt
- 1 cup whole milk, lukewarm
- 3 tablespoons honey
- 1 large egg, at room temperature
- 3 tablespoons unsalted butter, melted and cooled until just warm
- A little butter or neutral oil for the pan
- 1 tablespoon melted butter for finishing, optional
Instructions
- Whisk the lukewarm milk, honey, egg, and melted butter together.
- In a large bowl, stir together the flour, instant yeast, and salt. Add the milk mixture and stir firmly for 2–3 minutes, until no dry flour remains. The dough should be soft and sticky. Rest briefly before making small consistency adjustments if needed.
- Cover and let rise until roughly doubled, approximately 60–90 minutes or longer in cool conditions.
- Grease the loaf pan. Transfer the dough to a lightly floured surface, gently press into a rectangle, and roll into a short log. Place seam-side down in the pan.
- Cover loosely and let rise until puffy and near or slightly above the rim, approximately 35–60 minutes. Preheat the oven to 350°F.
- Bake for 35–40 minutes, tenting with foil if the top browns early. Check that the center is baked through; approximately 190–200°F is a useful internal temperature guide.
- Brush with optional finishing butter. Rest in the pan for 10 minutes, then transfer to a wire rack and cool completely before slicing.