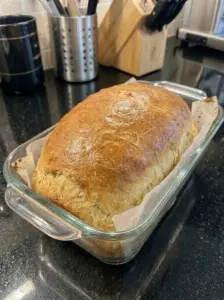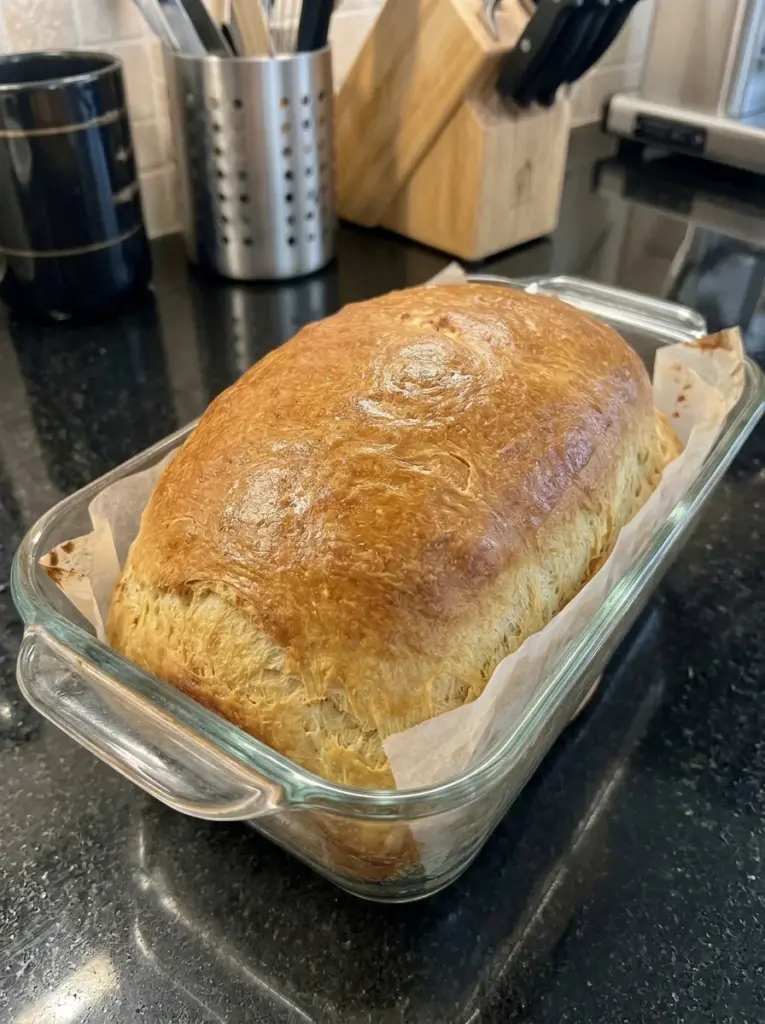
Easy No-Knead Buttermilk Sandwich Bread makes a soft homemade loaf with a gentle tang and a lightly enriched crumb. Buttermilk, an egg, and melted butter add flavor and tenderness, while instant yeast provides the rise.
Mix with a sturdy spoon, let the dough become puffy, and shape briefly before its second rise. There is no extended kneading session or mixer required. Once cooled, the loaf is ready for breakfast toast, grilled cheese, or everyday sandwiches.
The dough should be soft and tacky rather than dry enough to handle effortlessly. Resist adding a large amount of flour during shaping, and give the baked loaf time to cool so its crumb does not compress under the knife.
Recipe at a glance: One 9-by-5-inch loaf · about 10–12 slices · 15 minutes active prep · approximately 1½–2¼ hours rising · 30–40 minutes baking · 10 minutes pan rest, plus full cooling.
Why You’ll Love This Bread
- No extended kneading: Stirring, resting, and gentle shaping simplify preparation.
- Buttermilk flavor: A subtle tang suits sweet or savory toppings.
- Soft enriched crumb: Butter and egg give richness.
- One useful loaf: Slice for sandwiches or freeze portions.
- Simple equipment: A bowl, spoon, loaf pan, and rack are the essentials.
What Does Buttermilk Do?
Cultured buttermilk adds tang and moisture. Along with butter and egg, it creates a different dough from a lean flour-and-water loaf.
This is yeast bread, not soda bread. Baking soda or baking powder is not needed in the stated formula, and the dough requires two rising stages before baking.
No-knead does not mean no handling. A brief shaping step organizes the risen dough into a loaf without repeatedly working it on the counter.
Ingredients
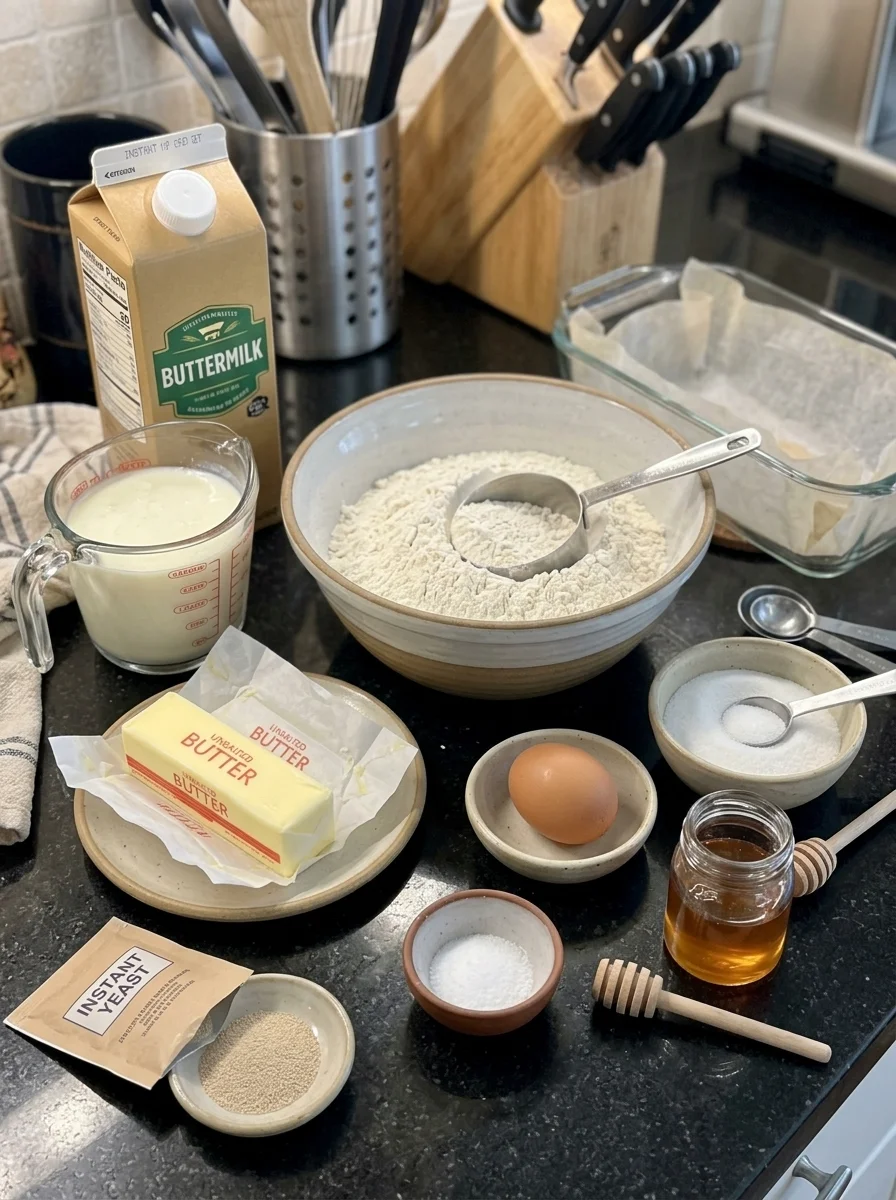
- 3 cups all-purpose flour or bread flour, spooned and leveled
- 1 cup cultured buttermilk, at room temperature or gently warmed
- 2¼ teaspoons instant yeast, one standard ¼-ounce packet
- 2 tablespoons granulated sugar or honey
- 1 teaspoon fine salt
- 3 tablespoons unsalted butter, melted and cooled until lukewarm
- 1 large egg, at room temperature
- Butter or cooking spray for the pan
- A little additional melted butter for the baked crust, optional
Ingredient Notes
Flour: The supplied three-cup volume can vary significantly by measuring technique and brand. Spoon and level rather than scooping densely. Bread flour generally provides more structure and chew; all-purpose gives a softer result. Use the dough cues rather than treating every flour as identical.
Buttermilk: Use cultured dairy buttermilk, shaken or stirred before measuring. If warming, do so gently; it should be comfortably lukewarm, not hot. Excess heat can affect yeast and dairy texture.
Instant yeast: Mix directly into the recipe. Check freshness and store according to package instructions. Active dry yeast can be used following its manufacturer’s hydration directions, with potentially different rising times.
Sugar or honey: Both sweeten the loaf, but honey adds some liquid and its own flavor. The small substitution is reasonable, though dough consistency can differ slightly.
Salt: Use fine salt for the stated teaspoon quantity. Coarse kosher salts differ in density.
Butter: Cool melted butter before mixing with yeast and egg. Salted butter changes the seasoning; reduce added salt if choosing it.
Egg: Use one large egg. Its size contributes to dough moisture. Bring it toward room temperature briefly as part of preparation, not by leaving it out for hours.
Equipment and Pan Size
Use a large bowl, sturdy spoon, dough scraper if available, and a 9-by-5-inch metal loaf pan. A food thermometer is useful for baking checks.
This dough may make a modest-height loaf in that pan. A smaller pan changes rise height and bake time; do not assume the same visual proofing cue applies in every pan.
How to Make It
1. Prepare the wet mixture
Combine buttermilk, yeast, sugar or honey, egg, and lukewarm melted butter. Stir until evenly mixed.
2. Stir in flour and salt
Add flour and salt. Mix firmly for a few minutes, scraping the bowl, until there are no dry patches. The dough should be cohesive, soft, and tacky.
If dry flour remains after thorough mixing, add buttermilk a teaspoon at a time. If the mixture is genuinely pourable rather than a loose dough, recheck measurement and add flour in small increments. Ordinary stickiness is expected and does not justify making the dough stiff.
3. Let it rise
Cover the bowl and leave in a comfortably warm location for approximately 60–90 minutes, until roughly doubled and puffy. A cool kitchen can require longer.
Do not place the bowl in a hot oven. Follow the dough’s expansion rather than moving on solely because the timer has elapsed.
4. Shape gently
Grease the loaf pan. Transfer dough to a lightly floured surface using a scraper. Pat gently into a rectangle about 8 inches wide, roll into a log, and pinch the seam.
Place seam-side down in the pan. Use only a light dusting of flour on your hands and surface. If dough sticks heavily, a scraper or lightly oiled hands can help without adding a large amount of flour.
5. Proof in the pan
Cover loosely with a greased cover that will not stick to the rising surface. Let rise approximately 30–45 minutes, or longer as needed, until visibly expanded and puffy, approaching the rim for this pan and batch size.
Do not force it to reach a tall crown if the amount of dough sits low in your particular pan. A gentle fingertip indentation should spring back slowly. If it rebounds immediately, give it more time; if the surface begins sagging, bake promptly.
Preheat the oven to 350°F during this stage.
6. Bake until done
Remove the cover and bake approximately 30–40 minutes. The top should be golden and the center should register around 190–200°F, with a set bread structure rather than a wet interior.
Insert the thermometer toward the center without touching the pan. If the crust colors before the loaf is done, tent loosely with foil and continue. Use the time range as a guide, not a guarantee.
7. Cool before slicing
Rest in the pan about 10 minutes, then transfer to a rack. Brush the top with optional melted butter for a softer crust.
Allow full cooling before sandwich slicing, typically at least 1–2 hours depending on conditions. The supplied 30–45-minute cooling period may leave the center warm and fragile. A serrated knife with a gentle sawing motion gives cleaner slices than pressing downward.
Tips for a Soft Loaf
Keep the dough moist. Excess shaping flour can create a heavy crumb.
Let each rise develop. Underproofed dough can bake dense; overproofed dough can weaken and collapse.
Use gentle shaping. There is no need for a repeated kneading cycle.
Preheat fully. Put the loaf into an oven that has reached the baking temperature.
Cool on a rack. Trapped steam in the pan can make the sides damp.
Troubleshooting
| Problem | What to check |
|---|---|
| Dough barely rises | Check yeast freshness, liquid temperature, and room warmth. Allow more time in a cool kitchen. |
| Dough feels dry | Flour may be packed into the cup; add small amounts of buttermilk during initial mixing if needed. |
| Loaf is dense | Consider flour quantity, rise completion, and excessive handling. |
| Center seems gummy | Verify baking doneness and cool fully before slicing. |
| Top collapses | Overproofing or underbaking can weaken the structure. |
| Crust darkens early | Tent with foil and check oven temperature. |
| Loaf is lower than expected | Pan dimensions and flour measurements affect height; do not assume every three-cup loaf fills a 9-by-5-inch pan identically. |
Variations
Honey version: Use the listed honey instead of sugar for a mild flavor change.
Extra-soft crust: Apply the optional butter finish after baking.
Seeded top: Brush the shaped loaf lightly with water just before baking and add a small amount of sesame seeds.
Savory herb: Add a modest ½ teaspoon dried herb blend with the flour.
Large whole-wheat substitutions, gluten-free blends, and egg omission change structure and need a separately adjusted formula. Milk acidified at home is not identical to cultured buttermilk in thickness and flavor.
Serving Suggestions
Use cooled slices for turkey sandwiches, peanut butter and jam, grilled cheese, or breakfast toast. A slightly thicker slice suits soft or moist fillings.
As the loaf loses freshness, toast it or turn it into croutons or French toast. Butter and honey are optional toppings, not necessary for the loaf’s flavor.
Storage and Freezing
Wrap only after the loaf has cooled fully. Keep in a clean airtight bag or container at room temperature for about 2–3 days, depending on kitchen conditions. Freeze earlier in warm or humid conditions if you will not use it promptly.
Refrigeration tends to accelerate bread staling, so freezing is generally preferable for longer texture preservation. Discard the entire loaf if mold appears.
Freeze cooled slices for up to 2 months for best quality, separating with parchment if desired. Toast directly from frozen or thaw covered at room temperature. Avoid sealing a hot loaf, which traps moisture.
Nutrition Notes
The supplied calorie estimate has not been calculated for this loaf. Flour measurement, sugar versus honey, additional butter, and slice size affect the totals.
Use ingredient labels and divide the batch by the number of equal slices you cut if tracking nutrition. This recipe contains wheat, dairy, and egg and is not automatically low-carb because it is homemade.
Frequently Asked Questions
Is this really no-knead?
It requires thorough stirring and a brief shaping step, but not an extended kneading session.
Can I use active dry yeast?
Follow its package directions for hydration and expect possible differences in rise time. Instant yeast is the specified starting point.
Can I use cold buttermilk?
It slows the rise. Room-temperature or gently warmed buttermilk gives a more practical schedule.
Can I substitute self-rising flour?
No. This is a yeast formula with its own salt quantity, not a chemically leavened quick bread.
Can I slice it warm?
You can, but slices are more likely to compress or tear. Full cooling is better for sandwich slices.
Can I double it?
Use two similar loaf pans and check both independently rather than baking a much larger, deeper loaf with the same timing.
Recipe Card
Easy No-Knead Buttermilk Sandwich Bread
A soft enriched yeast loaf mixed with a spoon and briefly shaped, with cultured buttermilk and butter.
Active prep: 15 minutes
Rise: Approximately 1½–2¼ hours
Bake: Approximately 30–40 minutes
Pan rest: 10 minutes
Total before full cooling: Approximately 2 hours 25 minutes–3 hours 20 minutes
Yield: One loaf, about 10–12 slices
Ingredients
- 3 cups all-purpose or bread flour, spooned and leveled
- 1 cup cultured buttermilk, room temperature or gently warmed
- 2¼ teaspoons instant yeast
- 2 tablespoons granulated sugar or honey
- 1 teaspoon fine salt
- 3 tablespoons unsalted butter, melted and cooled
- 1 large egg
- Butter or spray for the pan
- Additional melted butter for the crust, optional
Instructions
- Mix buttermilk, yeast, sugar or honey, egg, and lukewarm butter.
- Stir in flour and salt thoroughly until a soft, cohesive, tacky dough forms with no dry patches.
- Cover and rise 60–90 minutes or until roughly doubled, allowing longer in a cool room.
- Grease a 9-by-5-inch pan. Gently pat dough into an 8-inch-wide rectangle, roll into a log, and place seam-side down.
- Cover loosely and rise 30–45 minutes or until expanded and puffy. Preheat oven to 350°F.
- Bake 30–40 minutes until golden and the center is around 190–200°F. Tent a dark crust with foil if needed.
- Rest in the pan 10 minutes, then cool on a rack. Apply optional butter and cool fully before slicing.
Notes
- Flour cup measurements vary; use dough cues and avoid heavy flour additions.
- Rise and bake times are estimates, not guaranteed schedules.
- Full cooling is additional to the listed total.
- Exact nutrition has not been calculated.
Final Thoughts
Keep the dough soft, follow its rise rather than the clock alone, and cool before cutting. Buttermilk’s gentle tang makes this a useful everyday loaf for toast and simple sandwiches.
Print
Easy No-Knead Buttermilk Sandwich Bread
Ingredients
- 3 cups all-purpose or bread flour, spooned and leveled
- 1 cup cultured buttermilk, room temperature or gently warmed
- 2¼ teaspoons instant yeast
- 2 tablespoons granulated sugar or honey
- 1 teaspoon fine salt
- 3 tablespoons unsalted butter, melted and cooled
- 1 large egg
- Butter or spray for the pan
- Additional melted butter for the crust, optional
Instructions
- Mix buttermilk, yeast, sugar or honey, egg, and lukewarm butter.
- Stir in flour and salt thoroughly until a soft, cohesive, tacky dough forms with no dry patches.
- Cover and rise 60–90 minutes or until roughly doubled, allowing longer in a cool room.
- Grease a 9-by-5-inch pan. Gently pat dough into an 8-inch-wide rectangle, roll into a log, and place seam-side down.
- Cover loosely and rise 30–45 minutes or until expanded and puffy. Preheat oven to 350°F.
- Bake 30–40 minutes until golden and the center is around 190–200°F. Tent a dark crust with foil if needed.
- Rest in the pan 10 minutes, then cool on a rack. Apply optional butter and cool fully before slicing.