Introduction to Whimsical Drip Cake Extravaganza
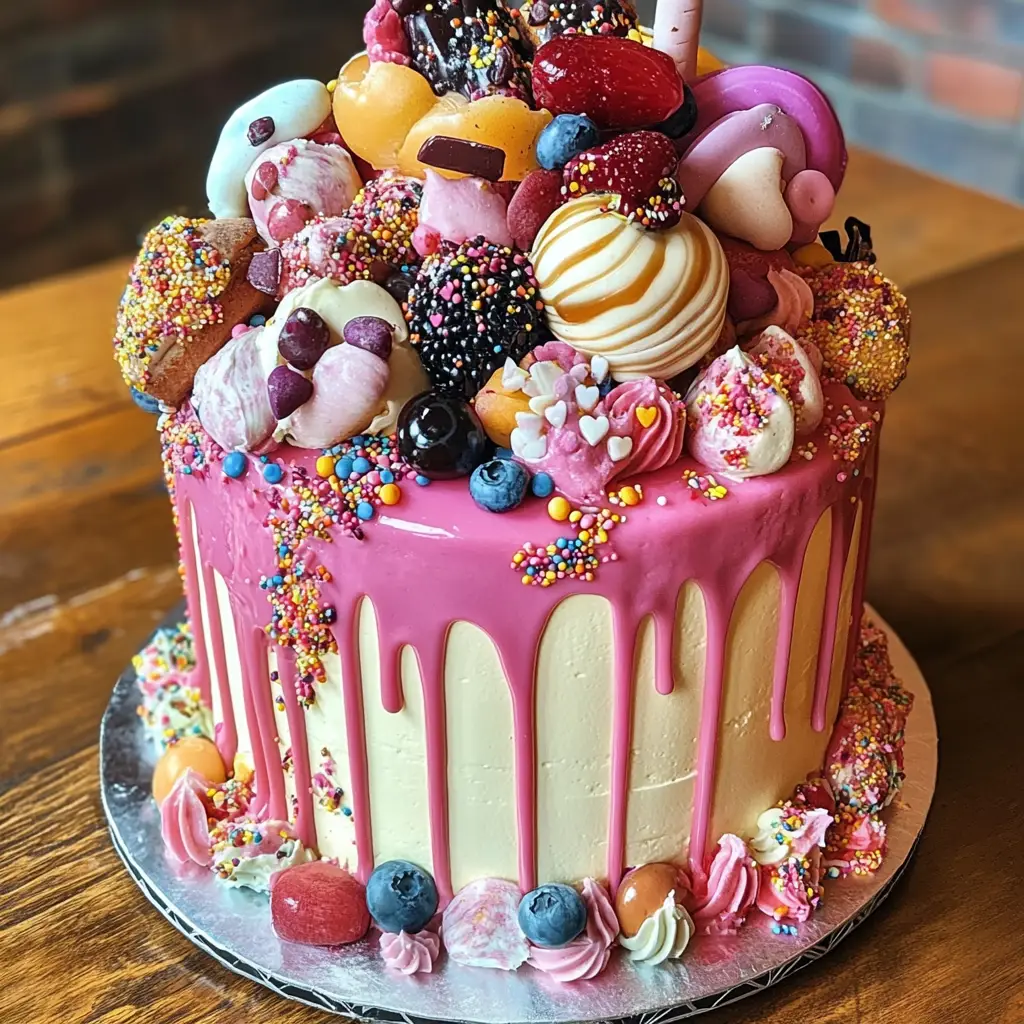
Welcome to the delightful world of the Whimsical Drip Cake Extravaganza! If you’re like me, juggling a busy life while trying to whip up something special can feel overwhelming. This cake is not just a treat; it’s a canvas for your creativity! Perfect for birthdays, anniversaries, or just because, it’s a quick solution for those days when you want to impress your loved ones without spending hours in the kitchen. With its colorful drips and playful decorations, this cake will surely bring smiles and joy to any celebration. Let’s dive into this fun baking adventure together!
Why You’ll Love This Whimsical Drip Cake Extravaganza
This Whimsical Drip Cake Extravaganza is a game-changer for busy moms and professionals like us! It’s easy to make, requiring just a handful of ingredients and minimal prep time. The rich chocolate flavor paired with the light, fluffy cream creates a taste sensation that will have everyone asking for seconds. Plus, the decorating part is pure fun, allowing you to unleash your inner artist without the stress. What’s not to love?
Ingredients for Whimsical Drip Cake Extravaganza
Gathering the right ingredients is the first step to creating your masterpiece! Here’s what you’ll need for this delightful cake:
- All-purpose flour: The backbone of your cake, providing structure and texture.
- Granulated sugar: Sweetens the cake and helps create that lovely fluffy texture.
- Unsweetened cocoa powder: Adds rich chocolate flavor, making every bite a delight.
- Unsalted butter: Brings moisture and richness; make sure it’s softened for easy mixing.
- Large eggs: Essential for binding the ingredients together and adding moisture.
- Whole milk: Keeps the cake moist and adds a creamy texture.
- Baking powder: A leavening agent that helps the cake rise beautifully.
- Baking soda: Works with the baking powder to create a light, airy cake.
- Salt: Enhances the flavors and balances the sweetness.
- Heavy cream: Whipped to perfection, it’s the dreamy frosting that tops your cake.
- Chocolate ganache: This luscious drizzle adds a whimsical touch and extra chocolatey goodness.
- Assorted sprinkles and decorations: Let your creativity shine! Use colorful sprinkles, edible glitter, or even fresh fruits to make it your own.
For those looking to switch things up, consider using gluten-free flour or dairy-free alternatives. You can find the exact measurements for each ingredient at the bottom of the article, ready for printing. Let’s get baking!
How to Make Whimsical Drip Cake Extravaganza
Step 1: Preheat and Prepare
Let’s kick things off by preheating your oven to 350°F (175°C). This step is crucial for ensuring your cake bakes evenly. While the oven warms up, grab two 9-inch round cake pans and grease them well with butter or cooking spray. This will help your cakes slide out easily once they’re baked. You can also line the bottoms with parchment paper for extra insurance. Trust me, there’s nothing worse than a cake that sticks!
Step 2: Creaming the Butter and Sugar
Now, it’s time to cream together the softened unsalted butter and granulated sugar. This step is vital for achieving that light and fluffy texture we all love. Use a hand mixer or stand mixer on medium speed, and mix until the mixture is pale and fluffy—about 3-5 minutes. The air you incorporate here will help your cake rise beautifully. Don’t rush this step; it’s where the magic begins!
Step 3: Adding Eggs
Next, let’s add the eggs, one at a time. Crack an egg into the bowl, mix well, and then add the next. This gradual addition helps the eggs blend smoothly into the batter, ensuring a uniform texture. You want to see that lovely creamy mixture come together. If you’re feeling adventurous, you can even add a splash of vanilla extract for an extra flavor boost!
Step 4: Mixing Dry Ingredients
In a separate bowl, combine the all-purpose flour, cocoa powder, baking powder, baking soda, and salt. Whisk them together until they’re well mixed. This step is essential because it ensures that the leavening agents are evenly distributed throughout the flour. A well-mixed dry blend means a perfectly risen cake. Plus, the cocoa powder will add that rich chocolatey goodness we’re after!
Step 5: Combining Wet and Dry Ingredients
Now, it’s time to bring it all together! Gradually add the dry ingredients to the butter mixture, alternating with the whole milk. Start with a third of the dry mix, then pour in half the milk, and repeat until everything is combined. This method helps prevent lumps and keeps the batter smooth. Mix until just combined; overmixing can lead to a dense cake, and we want it light and airy!
Step 6: Baking the Cakes
Once your batter is ready, divide it evenly between the two prepared pans. Give the pans a gentle tap on the counter to release any air bubbles. Now, pop them into your preheated oven and bake for 30-35 minutes. You’ll know they’re done when a toothpick inserted in the center comes out clean. The aroma wafting through your kitchen will be heavenly!
Step 7: Cooling the Cakes
After baking, it’s crucial to let the cakes cool completely in the pans for about 10 minutes. Then, carefully transfer them to a wire rack to cool completely. This step is vital because frosting a warm cake can lead to a melty mess. Patience is key here; let those cakes cool down to room temperature before we get to the fun part!
Step 8: Whipping the Cream
While the cakes cool, let’s whip up some heavy cream for frosting. In a chilled bowl, beat the cream on medium-high speed until stiff peaks form. This means the cream should hold its shape when you lift the beaters. It’s like magic! This fluffy frosting will be the perfect complement to your rich chocolate cake. Just be careful not to overwhip; we want it creamy, not butter!
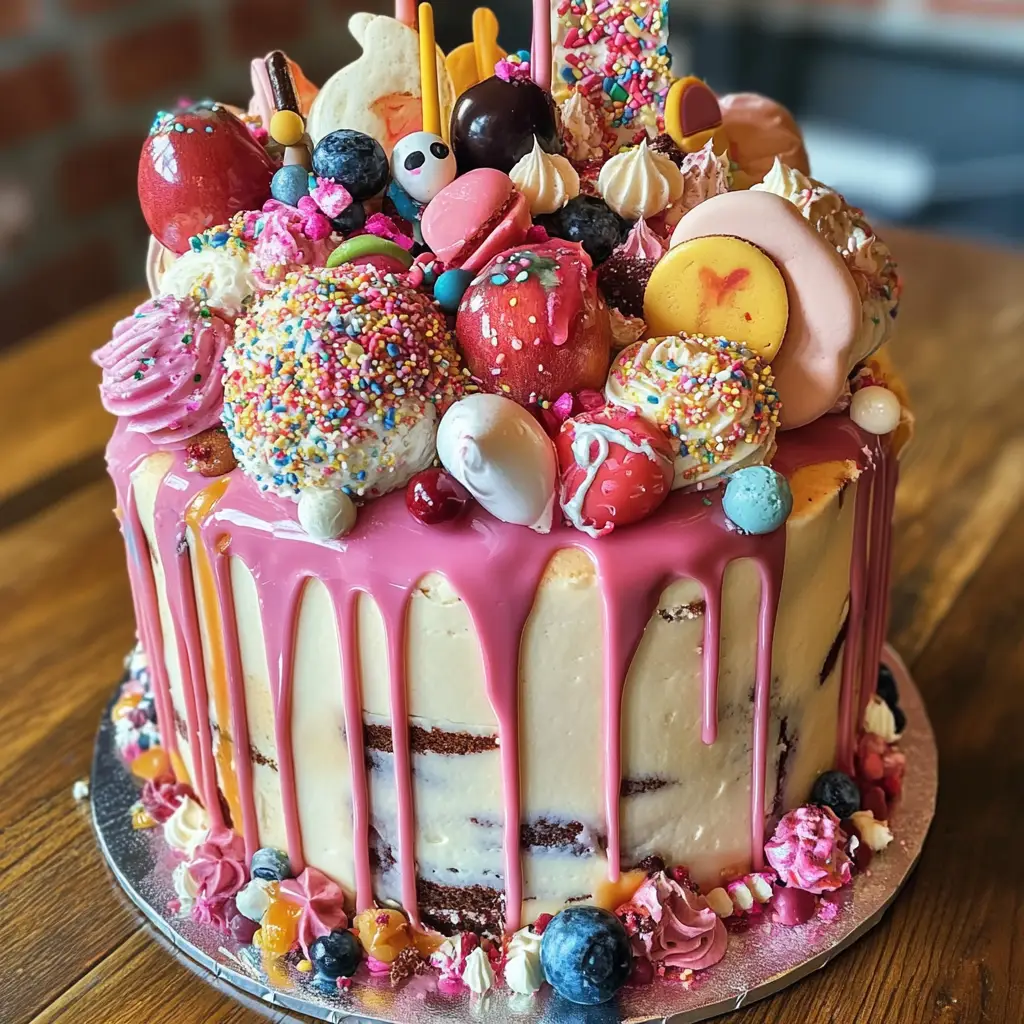
Step 9: Drizzling the Ganache
Now comes the whimsical part! Take your chocolate ganache and let it cool slightly until it’s pourable but not too hot. Drizzle it over the top of your frosted cake, allowing it to cascade down the sides. This creates that beautiful drip effect that makes the cake look so enticing. Don’t worry about perfection; the more playful, the better!
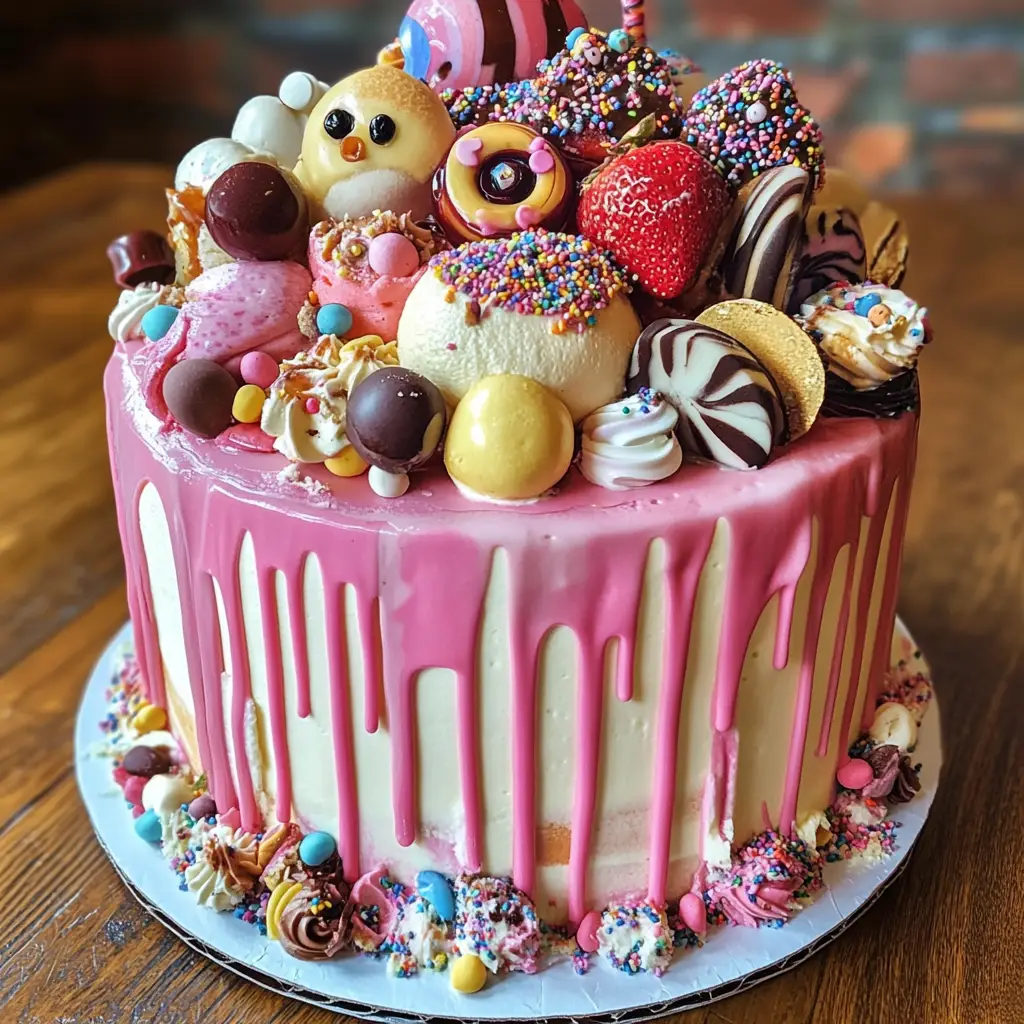
Step 10: Decorating the Cake
Finally, let your creativity shine! Grab your assorted sprinkles and decorations, and have fun embellishing your cake. You can go wild with colors, shapes, and textures. Whether you choose edible glitter, fresh fruits, or whimsical candies, this is your chance to make the cake uniquely yours. Remember, the more colorful, the more fun!
Tips for Success
- Always measure your ingredients accurately for the best results.
- Use room temperature ingredients for easier mixing and better texture.
- Don’t skip the cooling step; it prevents melting your frosting.
- Experiment with different flavors in your ganache, like caramel or fruit.
- Have fun with decorations; let your creativity run wild!
Equipment Needed
- Two 9-inch round cake pans (or use one 9×13-inch pan for a single layer).
- Mixing bowls (a large one for wet ingredients and a medium one for dry).
- Hand mixer or stand mixer (a whisk works too, but it’ll take longer).
- Measuring cups and spoons for accuracy.
- Cooling rack (or a plate to cool the cakes).
Variations
- For a fruity twist, add fresh berries between the layers or top the cake with a berry compote.
- Try a vanilla cake base instead of chocolate for a lighter flavor profile.
- Substitute almond or coconut milk for a dairy-free version of the cake.
- Incorporate flavored extracts like peppermint or orange for a unique taste.
- Use gluten-free flour to make this cake suitable for those with gluten sensitivities.
Serving Suggestions
- Pair your Whimsical Drip Cake with a scoop of vanilla ice cream for a delightful contrast.
- Serve with a side of fresh berries to add a pop of color and freshness.
- For drinks, consider a chilled glass of milk or a fruity punch.
- Present the cake on a colorful cake stand to enhance its whimsical charm.
FAQs about Whimsical Drip Cake Extravaganza
Can I make this cake ahead of time?
Absolutely! This Whimsical Drip Cake can be made a day in advance. Just store it in the refrigerator after decorating. The flavors will meld beautifully overnight, making it even more delicious!
What can I use instead of heavy cream for frosting?
If you’re looking for a lighter option, you can use whipped topping or a dairy-free alternative like coconut cream. Just make sure it’s whipped to stiff peaks for the best results!
How do I store leftovers?
Store any leftover cake in an airtight container in the refrigerator. It should stay fresh for up to 3 days. Just be prepared for the cake to disappear quickly!
Can I use different flavors for the ganache?
Definitely! Feel free to experiment with flavored ganaches. Try adding caramel, white chocolate, or even fruit purees for a fun twist on the classic chocolate ganache.
What if my cake layers are uneven?
No worries! If your cake layers are uneven, simply level them with a serrated knife before frosting. It’s a common issue, and a little trimming can make a big difference in presentation!
Final Thoughts
Creating the Whimsical Drip Cake Extravaganza is more than just baking; it’s about making memories and sharing joy with loved ones. The vibrant colors and playful decorations bring a sense of celebration to any occasion, whether it’s a birthday or a simple family gathering. I love how this cake allows me to express my creativity while still being a straightforward recipe. Plus, the smiles on my family’s faces when they take that first bite? Priceless! So, roll up your sleeves, gather your ingredients, and let’s make some magic happen in the kitchen together!
Print
Whimsical Drip Cake Extravaganza: Unleash Your Creativity!
- Total Time: 1 hour 5 minutes
- Yield: 12 servings 1x
- Diet: Vegetarian
Description
A delightful and creative cake that features a whimsical design with colorful drips and decorations, perfect for any celebration.
Ingredients
- 2 cups all-purpose flour
- 1 ½ cups granulated sugar
- ½ cup unsweetened cocoa powder
- 1 cup unsalted butter, softened
- 4 large eggs
- 1 cup whole milk
- 2 tsp baking powder
- 1 tsp baking soda
- ½ tsp salt
- 1 cup heavy cream
- ½ cup chocolate ganache
- Assorted sprinkles and decorations
Instructions
- Preheat the oven to 350°F (175°C) and grease two 9-inch round cake pans.
- In a large bowl, cream together the butter and sugar until light and fluffy.
- Add the eggs one at a time, mixing well after each addition.
- In a separate bowl, combine the flour, cocoa powder, baking powder, baking soda, and salt.
- Gradually add the dry ingredients to the wet mixture, alternating with the milk, and mix until smooth.
- Divide the batter evenly between the prepared pans and bake for 30-35 minutes.
- Allow the cakes to cool completely before frosting.
- Whip the heavy cream until stiff peaks form and use it to frost the cooled cakes.
- Drizzle the chocolate ganache over the top of the cake, allowing it to drip down the sides.
- Decorate with sprinkles and other whimsical decorations as desired.
Notes
- For a more vibrant look, use colored ganache or fondant decorations.
- Ensure the cakes are completely cool before frosting to prevent melting.
- This cake can be made a day in advance and stored in the refrigerator.
- Prep Time: 30 minutes
- Cook Time: 35 minutes
- Category: Dessert
- Method: Baking
- Cuisine: American
Nutrition
- Serving Size: 1 slice
- Calories: 450
- Sugar: 35g
- Sodium: 200mg
- Fat: 25g
- Saturated Fat: 15g
- Unsaturated Fat: 5g
- Trans Fat: 0g
- Carbohydrates: 50g
- Fiber: 2g
- Protein: 5g
- Cholesterol: 80mg
Keywords: Whimsical Drip Cake, Creative Cake, Celebration Cake, Drip Cake Recipe