Introduction to Oreo Sushi Rolls
Hey there, fellow dessert lovers! If you’re looking for a fun and creative way to satisfy your sweet tooth, let me introduce you to Oreo Sushi Rolls. Yes, you heard that right! These delightful treats combine the beloved flavors of Oreos with the playful presentation of sushi. Perfect for busy moms like us, they’re a quick solution for a sweet craving or a unique dessert to impress your loved ones. Trust me, once you whip these up, you’ll be the star of any gathering. Let’s dive into this delicious adventure together!
Why You’ll Love This Oreo Sushi Rolls
Oreo Sushi Rolls are not just a treat; they’re a delightful experience! They come together in a flash, making them perfect for those hectic days when time is short. Plus, the combination of creamy, crunchy, and sweet flavors is simply irresistible. Whether you’re hosting a party or just want to surprise your family, these rolls are sure to bring smiles and happy taste buds. Who wouldn’t love that?
Ingredients for Oreo Sushi Rolls
Let’s gather our ingredients for these delightful Oreo Sushi Rolls! Here’s what you’ll need:
- Oreo cookies: The star of the show! These chocolatey delights provide the base flavor and texture.
- Cream cheese: This creamy goodness binds everything together, adding richness and a smooth texture.
- Rice Krispies: For that satisfying crunch! They add a fun texture that contrasts beautifully with the creaminess.
- Chocolate syrup: A sweet drizzle that enhances the chocolate flavor and makes everything look extra tempting.
- Whipped cream: A light and fluffy topping that adds a touch of elegance and sweetness.
Feeling adventurous? You can also add some fresh fruit like strawberries or bananas inside the roll for a fruity twist!
For those with dietary restrictions, consider using gluten-free Oreos or a dairy-free cream cheese alternative.
All the exact measurements are at the bottom of the article, ready for you to print out and take to the kitchen!
How to Make Oreo Sushi Rolls
Now that we have our ingredients ready, let’s get started on making these delightful Oreo Sushi Rolls! Follow these simple steps, and you’ll have a sweet treat that’s sure to impress.
Step 1: Crush the Oreo Cookies
First things first, let’s crush those Oreo cookies! Place them in a zip-top bag and use a rolling pin to smash them into fine crumbs. You can also use a food processor if you have one handy. Just be careful not to turn them into dust; we want some texture!
Step 2: Mix with Cream Cheese
In a mixing bowl, combine the crushed Oreos with softened cream cheese. Use a spatula or a fork to mix until it’s well blended. The mixture should be thick and creamy, almost like a cookie dough. This is where the magic begins!
Step 3: Form the Mixture
Next, lay out a sheet of plastic wrap on your countertop. Spread the Oreo and cream cheese mixture onto the plastic wrap, forming a rectangle. Aim for about half an inch thick. This will be the base of your sushi rolls, so make it as even as possible!
Step 4: Add Rice Krispies
Now, sprinkle the Rice Krispies evenly over the Oreo mixture. This adds that delightful crunch we all love. Gently press them down so they stick to the mixture. You can even add a few extra for good measure!
Step 5: Roll into a Log
Using the plastic wrap, carefully roll the mixture into a log shape. Start from one end and roll tightly, just like you would with sushi. Make sure it’s snug but not too tight, or the filling might ooze out. Once rolled, twist the ends of the plastic wrap to secure it.
Step 6: Chill the Rolls
Pop the log into the refrigerator and let it chill for at least 30 minutes. This step is crucial! Chilling helps the rolls firm up, making them easier to slice. Plus, it allows the flavors to meld together beautifully.
Step 7: Slice and Serve
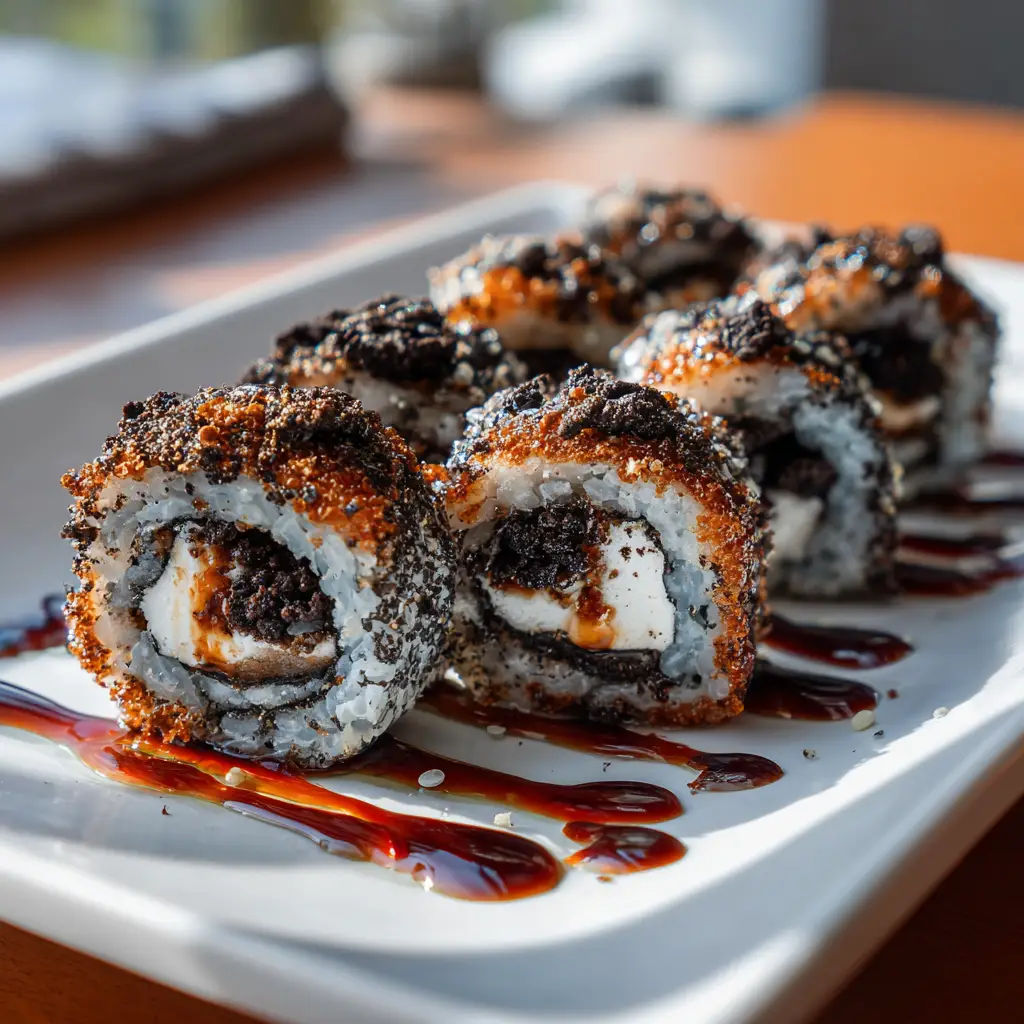
Once chilled, remove the log from the fridge. Carefully unwrap it and slice it into sushi roll-sized pieces. Aim for about an inch thick. Arrange the slices on a plate, drizzle with chocolate syrup, and top with whipped cream. Your Oreo Sushi Rolls are now ready to be devoured!
Tips for Success
- Chill the rolls for at least 30 minutes to make slicing easier.
- Use a sharp knife to get clean cuts without squishing the rolls.
- Experiment with different toppings like sprinkles or crushed nuts for added flair.
- For a fun twist, try adding flavored cream cheese, like strawberry or vanilla.
- Make these a day ahead for stress-free entertaining!
Equipment Needed
- Mixing bowl: Any large bowl will do, even a pot if you’re in a pinch.
- Plastic wrap: If you don’t have this, parchment paper can work as a substitute.
- Sharp knife: A serrated knife is great for clean slicing.
- Zip-top bag: A sturdy bag for crushing Oreos; a bowl and rolling pin can also work.
Variations
- Fruit-Filled Rolls: Add fresh strawberries, bananas, or even mango slices inside the roll for a fruity surprise!
- Nutty Delight: Incorporate crushed nuts like almonds or walnuts for an extra crunch and flavor boost.
- Chocolate Lovers: Use chocolate cream cheese instead of regular cream cheese for a double chocolate experience.
- Gluten-Free Option: Swap regular Oreos for gluten-free Oreos to accommodate dietary needs.
- Vegan Version: Use dairy-free cream cheese and whipped coconut cream for a delicious vegan treat.
Serving Suggestions
- Pair your Oreo Sushi Rolls with a scoop of vanilla ice cream for a delightful contrast.
- Serve with fresh fruit like strawberries or raspberries for a pop of color and freshness.
- For drinks, consider a chilled glass of milk or a fruity smoothie.
- Present on a colorful platter, drizzled with extra chocolate syrup for an eye-catching display.
FAQs about Oreo Sushi Rolls
Got questions about these delightful Oreo Sushi Rolls? I’ve got you covered! Here are some common queries that might pop up as you embark on this sweet adventure.
Can I make Oreo Sushi Rolls ahead of time?
Absolutely! These rolls can be made a day in advance. Just store them in the refrigerator, and they’ll be ready to slice and serve when you need them.
What can I use instead of cream cheese?
If you’re looking for alternatives, try using mascarpone cheese or a dairy-free cream cheese for a vegan option. Both will work beautifully in this recipe!
How do I store leftover Oreo Sushi Rolls?
Store any leftovers in an airtight container in the fridge. They should stay fresh for up to three days, but I doubt they’ll last that long!
Can I add other ingredients to the rolls?
Definitely! Feel free to get creative. You can add fruits, nuts, or even flavored cream cheese to customize your rolls to your liking.
Are Oreo Sushi Rolls suitable for kids?
Yes! These rolls are a hit with kids. They’re fun to eat and can be a great way to get them involved in the kitchen. Just watch out for the sugar rush!
Final Thoughts
Making Oreo Sushi Rolls is more than just whipping up a dessert; it’s about creating joyful moments in the kitchen. The smiles on my family’s faces when they see these playful treats are priceless. Each bite is a delightful blend of flavors and textures that brings back sweet memories of childhood. Plus, the ease of preparation means I can spend less time in the kitchen and more time enjoying life’s little moments. So, gather your loved ones, roll up your sleeves, and dive into this fun culinary adventure. Trust me, you won’t regret it!
Print
Oreo Sushi Rolls: A Sweet Twist You Must Try!
- Total Time: 45 minutes
- Yield: 4 servings 1x
- Diet: Vegetarian
Description
Oreo Sushi Rolls are a fun and creative dessert that combines the flavors of Oreos with the presentation of sushi. This sweet treat is perfect for parties or a unique dessert experience.
Ingredients
- 10 Oreo cookies
- 1 cup cream cheese, softened
- 1 cup rice krispies
- 1/2 cup chocolate syrup
- 1/2 cup whipped cream
Instructions
- Crush the Oreo cookies into fine crumbs.
- In a bowl, mix the crushed Oreos with softened cream cheese until well combined.
- Spread the mixture onto a sheet of plastic wrap, forming a rectangle.
- Sprinkle rice krispies over the Oreo mixture.
- Using the plastic wrap, roll the mixture tightly into a log shape.
- Chill in the refrigerator for at least 30 minutes.
- Once chilled, slice the log into sushi roll-sized pieces.
- Drizzle with chocolate syrup and top with whipped cream before serving.
Notes
- For a fun twist, you can add fruit like strawberries or bananas inside the roll.
- Make sure to chill the rolls well for easier slicing.
- These can be made a day in advance and stored in the refrigerator.
- Prep Time: 15 minutes
- Cook Time: 0 minutes
- Category: Dessert
- Method: No-Bake
- Cuisine: American
Nutrition
- Serving Size: 1 roll
- Calories: 250
- Sugar: 20g
- Sodium: 150mg
- Fat: 12g
- Saturated Fat: 7g
- Unsaturated Fat: 3g
- Trans Fat: 0g
- Carbohydrates: 30g
- Fiber: 1g
- Protein: 3g
- Cholesterol: 30mg
Keywords: Oreo Sushi Rolls, dessert, no-bake, sweet treat