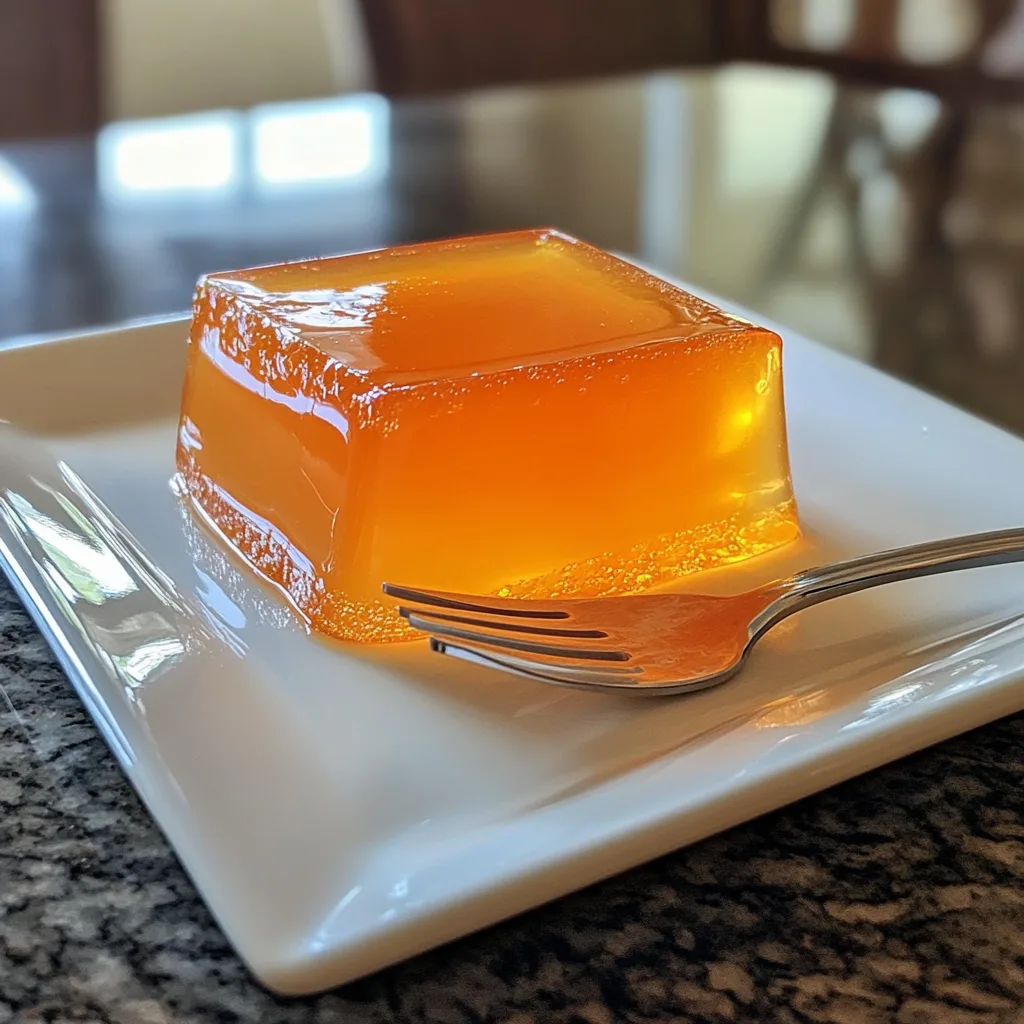
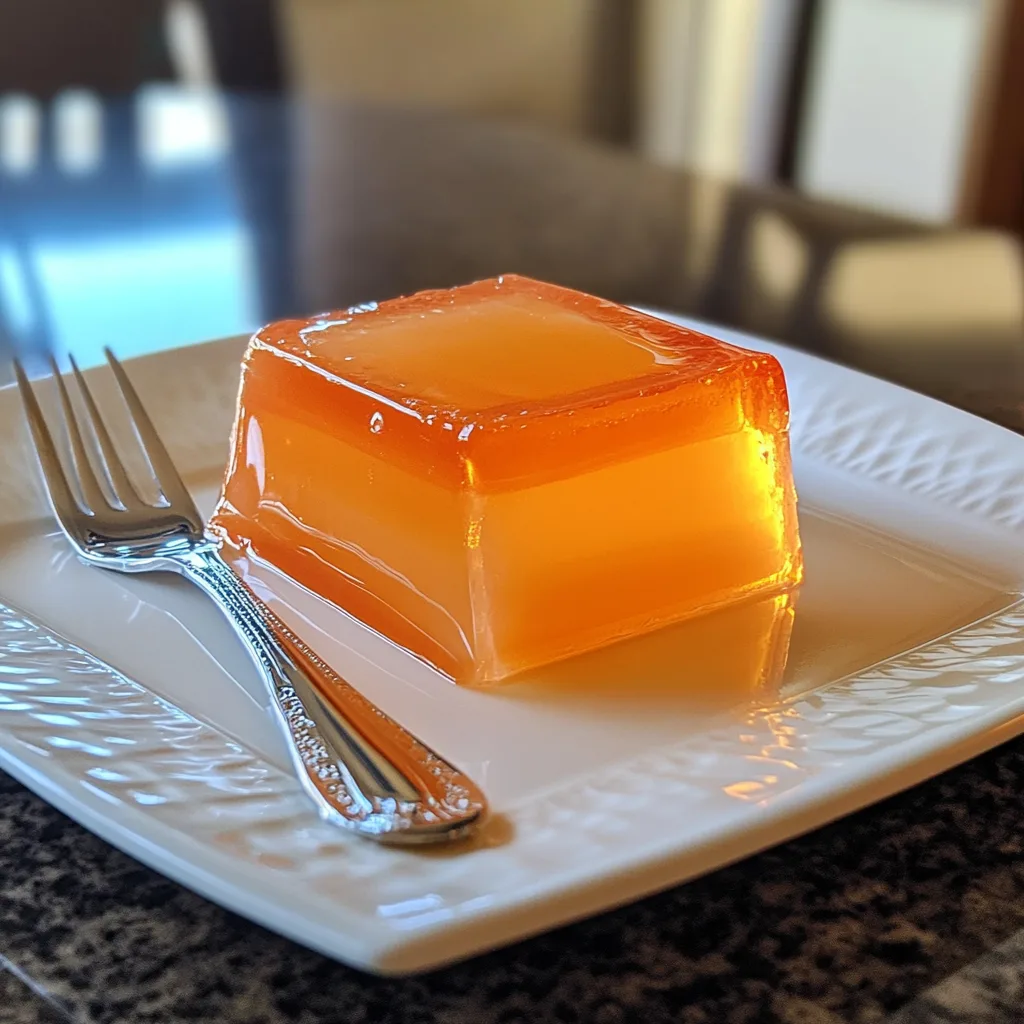
Introduction to Dreamsicle Jelly
As a busy mom, I know how precious time can be, especially when it comes to whipping up something sweet. That’s why I absolutely adore this Dreamsicle Jelly! It’s a delightful treat that captures the nostalgic flavors of orange and cream, reminiscent of those dreamy summer days. This recipe is not only quick and easy but also a fantastic way to impress your loved ones. Imagine their smiles as they savor this refreshing dessert! Trust me, you’ll want to keep this recipe close at hand for those moments when you need a little sweetness in your life.
Why You’ll Love This Dreamsicle Jelly
This Dreamsicle Jelly is a game-changer for busy days! It’s incredibly easy to make, taking just a few minutes of your time. The vibrant orange flavor paired with creamy goodness is simply irresistible. Plus, it’s a no-bake dessert, which means less mess and more time to enjoy with your family. Whether it’s a special occasion or just a sweet treat after dinner, this jelly is sure to delight everyone!
Ingredients for Dreamsicle Jelly
Gathering the right ingredients is the first step to creating your Dreamsicle Jelly. Here’s what you’ll need:
- Orange Juice: Freshly squeezed orange juice brings a bright, zesty flavor. If you’re short on time, store-bought juice works too!
- Sugar: This sweetener balances the tartness of the orange juice, making the jelly deliciously sweet. You can use less sugar if you prefer a lighter taste.
- Water: Just a bit of water helps dissolve the sugar and gelatin, creating a smooth mixture.
- Orange-Flavored Gelatin: This is the magic ingredient that gives the jelly its unique texture and flavor. You can find it in any grocery store.
- Heavy Cream: Whipping this cream adds a rich, velvety texture to the jelly. For a lighter option, you can substitute with whipped topping.
- Vanilla Extract: A splash of vanilla enhances the overall flavor, making it even more delightful.
For exact measurements, check the bottom of the article where you can find everything listed for easy printing. Happy cooking!
How to Make Dreamsicle Jelly
Now that you have your ingredients ready, let’s dive into making this delightful Dreamsicle Jelly! Follow these simple steps, and you’ll have a refreshing dessert that’s sure to impress.
Step 1: Combine Orange Juice, Sugar, and Water
Start by pouring the orange juice, sugar, and water into a saucepan. Heat this mixture over medium heat. Stir it gently until the sugar completely dissolves. This step is crucial because it ensures that your jelly will be smooth and sweet. The aroma of orange will fill your kitchen, making it feel like summer!
Step 2: Add Gelatin
Once the sugar has dissolved, it’s time to add the orange-flavored gelatin. Sprinkle it into the warm mixture while stirring continuously. This helps the gelatin dissolve fully, preventing any lumps. Keep stirring until you see no granules left. This is where the magic happens, transforming your mixture into a jelly-like consistency!
Step 3: Cool the Mixture
After the gelatin is fully dissolved, remove the saucepan from heat. Let the mixture cool slightly for about 10 minutes. Cooling is important because it prevents the whipped cream from melting when you combine the two. You want that light, airy texture in your Dreamsicle Jelly!
Step 4: Whip the Cream
While your mixture cools, grab a mixing bowl and pour in the heavy cream and vanilla extract. Using a hand mixer or whisk, whip the cream until soft peaks form. This means the cream should hold its shape but still be smooth and creamy. It’s like creating a fluffy cloud of deliciousness!
Step 5: Fold the Mixtures Together
Now comes the fun part! Gently fold the whipped cream into the cooled orange mixture. Use a spatula to scoop from the bottom and lift it over the top. This technique keeps the air in the whipped cream, ensuring your jelly remains light and fluffy. It’s like giving your dessert a warm hug!
Step 6: Pour and Refrigerate
Finally, pour the combined mixture into jars or molds. Make sure to leave a little space at the top, as the jelly will expand slightly as it sets. Cover them with lids or plastic wrap and pop them in the refrigerator. Let them chill for at least 4 hours, or until set. The anticipation will be worth it when you finally dig in!
Tips for Success
- Always use fresh orange juice for the best flavor.
- Make sure your gelatin is fully dissolved to avoid any graininess.
- Don’t skip the cooling step; it’s key for a fluffy texture.
- For a fun twist, add a splash of coconut milk for a tropical vibe.
- Experiment with different molds for creative presentations!
Equipment Needed
- Medium saucepan: A small pot works too if you don’t have a medium one.
- Mixing bowl: Any bowl will do, but a glass bowl lets you see the mixture.
- Hand mixer or whisk: A whisk is great for a workout, but a hand mixer saves time.
- Spatula: A rubber spatula is perfect for folding and scraping.
- Jars or molds: Use any small containers you have on hand for chilling.
Variations of Dreamsicle Jelly
- Berry Dreamsicle: Add a layer of blended berries like strawberries or blueberries for a fruity twist.
- Coconut Dreamsicle: Substitute half of the heavy cream with coconut cream for a tropical flavor.
- Vegan Option: Use plant-based gelatin and coconut cream to make a delicious vegan version.
- Chocolate Dreamsicle: Drizzle melted dark chocolate on top before serving for a decadent touch.
- Spiced Dreamsicle: Add a pinch of cinnamon or nutmeg to the orange mixture for a warm, cozy flavor.
Serving Suggestions for Dreamsicle Jelly
- Top with a dollop of whipped cream for extra creaminess.
- Serve alongside fresh fruit like berries or sliced peaches for a colorful plate.
- Pair with a light, sparkling beverage to enhance the refreshing flavors.
- Garnish with mint leaves for a pop of color and freshness.
- Use clear jars for a beautiful presentation that showcases the jelly’s vibrant color.
FAQs about Dreamsicle Jelly
Can I use a different flavor of gelatin?
Absolutely! While orange-flavored gelatin gives that classic Dreamsicle taste, feel free to experiment with other flavors like strawberry or lemon. Just remember, the color and taste will change, but it can be just as delightful!
How long does Dreamsicle Jelly last in the fridge?
Your Dreamsicle Jelly can be stored in the refrigerator for up to a week. Just make sure to keep it covered to maintain its freshness. It’s a great make-ahead dessert for busy weeks!
Can I make Dreamsicle Jelly ahead of time?
Yes! This jelly is perfect for prepping in advance. Make it a day or two before your event, and it will be ready to impress your guests when the time comes. Just remember to give it enough time to set!
Is Dreamsicle Jelly suitable for kids?
<pDefinitely! Kids love the sweet, fruity flavor and creamy texture. It’s a fun dessert that can be enjoyed by the whole family. Just be mindful of any allergies to gelatin or dairy.
Can I add alcohol to Dreamsicle Jelly for an adult version?
Yes, you can! A splash of orange liqueur or vodka can elevate this dessert for adult gatherings. Just be sure to adjust the sweetness if you add alcohol, as it can change the flavor profile.
Final Thoughts
Creating Dreamsicle Jelly is more than just making a dessert; it’s about crafting sweet memories. The vibrant orange and creamy layers remind me of carefree summer days, bringing joy to my family with every spoonful. This recipe is a delightful way to connect with loved ones, whether it’s a casual weeknight treat or a special occasion. Plus, the ease of preparation means you can focus on what truly matters—sharing laughter and love around the table. So, roll up your sleeves and dive into this delightful adventure. You won’t regret it, and your taste buds will thank you!
Print
Dreamsicle Jelly: A Sweet Treat You Must Try Today!
- Total Time: 4 hours 20 minutes
- Yield: 4 servings 1x
- Diet: Vegetarian
Description
Dreamsicle Jelly is a delightful and refreshing dessert that combines the flavors of orange and cream, reminiscent of the classic dreamsicle ice cream treat.
Ingredients
- 2 cups orange juice
- 1 cup sugar
- 1/4 cup water
- 1 package (3 oz) orange-flavored gelatin
- 1 cup heavy cream
- 1 teaspoon vanilla extract
Instructions
- In a saucepan, combine orange juice, sugar, and water. Heat over medium heat until the sugar dissolves.
- Stir in the orange-flavored gelatin until fully dissolved.
- Remove from heat and let cool slightly.
- In a separate bowl, whip the heavy cream and vanilla extract until soft peaks form.
- Gently fold the whipped cream into the orange mixture until well combined.
- Pour the mixture into jars or molds and refrigerate for at least 4 hours or until set.
- Serve chilled and enjoy your Dreamsicle Jelly!
Notes
- For a more intense orange flavor, use freshly squeezed orange juice.
- This jelly can be served with whipped cream or fresh fruit for added texture.
- Store any leftovers in the refrigerator for up to a week.
- Prep Time: 15 minutes
- Cook Time: 5 minutes
- Category: Dessert
- Method: Refrigeration
- Cuisine: American
Nutrition
- Serving Size: 1 serving
- Calories: 150
- Sugar: 20g
- Sodium: 30mg
- Fat: 8g
- Saturated Fat: 5g
- Unsaturated Fat: 2g
- Trans Fat: 0g
- Carbohydrates: 22g
- Fiber: 0g
- Protein: 1g
- Cholesterol: 30mg
Keywords: Dreamsicle Jelly, dessert, orange jelly, sweet treat