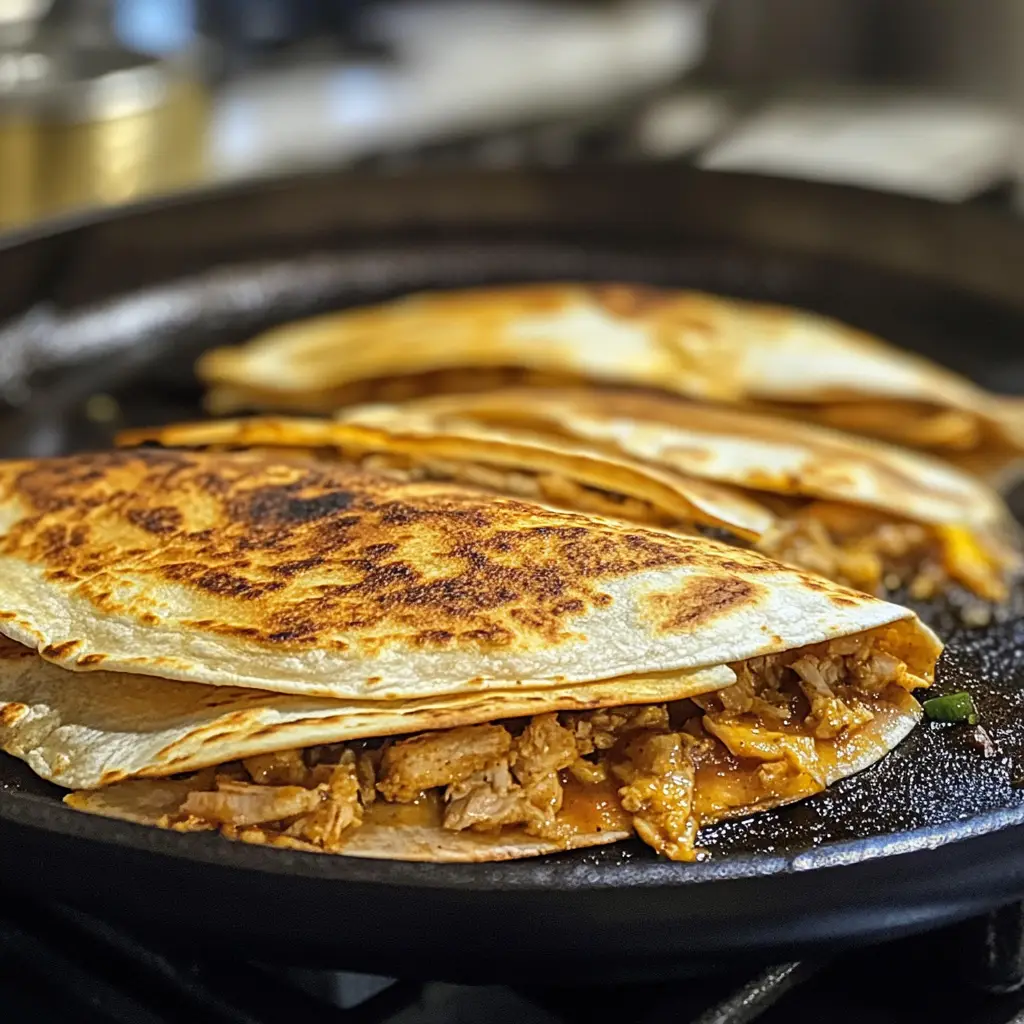
Introduction to Crispy Baked Quesadillas
As a busy mom, I know how precious time can be, especially when it comes to meal prep. That’s why I absolutely adore these Crispy Baked Quesadillas! They’re not just a quick solution for a hectic day; they’re also a delightful way to bring the family together. Imagine melted cheese, vibrant veggies, and your favorite fillings all wrapped in a crispy tortilla. It’s comfort food that’s easy to whip up, and trust me, your loved ones will be asking for seconds. Let’s dive into this delicious adventure together!
Why You’ll Love This Crispy Baked Quesadillas
These Crispy Baked Quesadillas are a game-changer for busy nights. They come together in just 30 minutes, making them perfect for those evenings when time is tight. Plus, the flavor is out of this world! With gooey cheese and customizable fillings, everyone at the table will find something to love. They’re not just easy to make; they’re also a hit with kids and adults alike, turning any meal into a fiesta!
Ingredients for Crispy Baked Quesadillas
Gathering the right ingredients is the first step to creating these mouthwatering Crispy Baked Quesadillas. Here’s what you’ll need:
- Flour tortillas: These are the foundation of your quesadillas. Large tortillas work best for folding and holding all the delicious fillings.
- Shredded cheese: Choose your favorite cheese, like cheddar or mozzarella. A blend adds a delightful depth of flavor.
- Cooked chicken: This is optional, but shredded chicken adds protein and heartiness. You can also use leftover rotisserie chicken for convenience.
- Bell peppers: Diced bell peppers bring a pop of color and sweetness. Feel free to mix different colors for a vibrant dish.
- Onions: Diced onions add a savory kick. You can use red, yellow, or even green onions based on your preference.
- Taco seasoning: This spice blend infuses your filling with a burst of flavor. You can use store-bought or make your own for a personal touch.
- Cooking spray or olive oil: A light spray or brush of oil helps achieve that golden, crispy exterior. It’s a simple step that makes a big difference!
Feel free to customize the fillings based on your family’s tastes. You can add black beans for extra fiber, or swap in spinach for a veggie boost. The possibilities are endless! For exact quantities, check the bottom of the article where you can find everything available for printing.
How to Make Crispy Baked Quesadillas
Now that you have your ingredients ready, let’s get cooking! Making these Crispy Baked Quesadillas is a breeze. Follow these simple steps, and you’ll have a delicious meal in no time.
Step 1: Preheat the Oven
First things first, preheat your oven to 400°F (200°C). Preheating is crucial because it ensures that your quesadillas cook evenly and get that perfect crispy texture. Trust me, you don’t want to skip this step!
Step 2: Prepare the Filling
In a mixing bowl, combine your shredded cheese, cooked chicken (if using), diced bell peppers, onions, and taco seasoning. Stir everything together until well mixed. This is where you can get creative! Want to add some black beans or corn? Go for it! The filling is your canvas, so make it as colorful and flavorful as you like.
Step 3: Assemble the Quesadillas
Take one tortilla and lay it flat on a baking sheet. Spread a generous portion of your filling on one half of the tortilla. Then, fold the other half over to cover the filling. Press down gently to seal it. Repeat this process with the remaining tortillas and filling. It’s like making little flavor-packed envelopes!
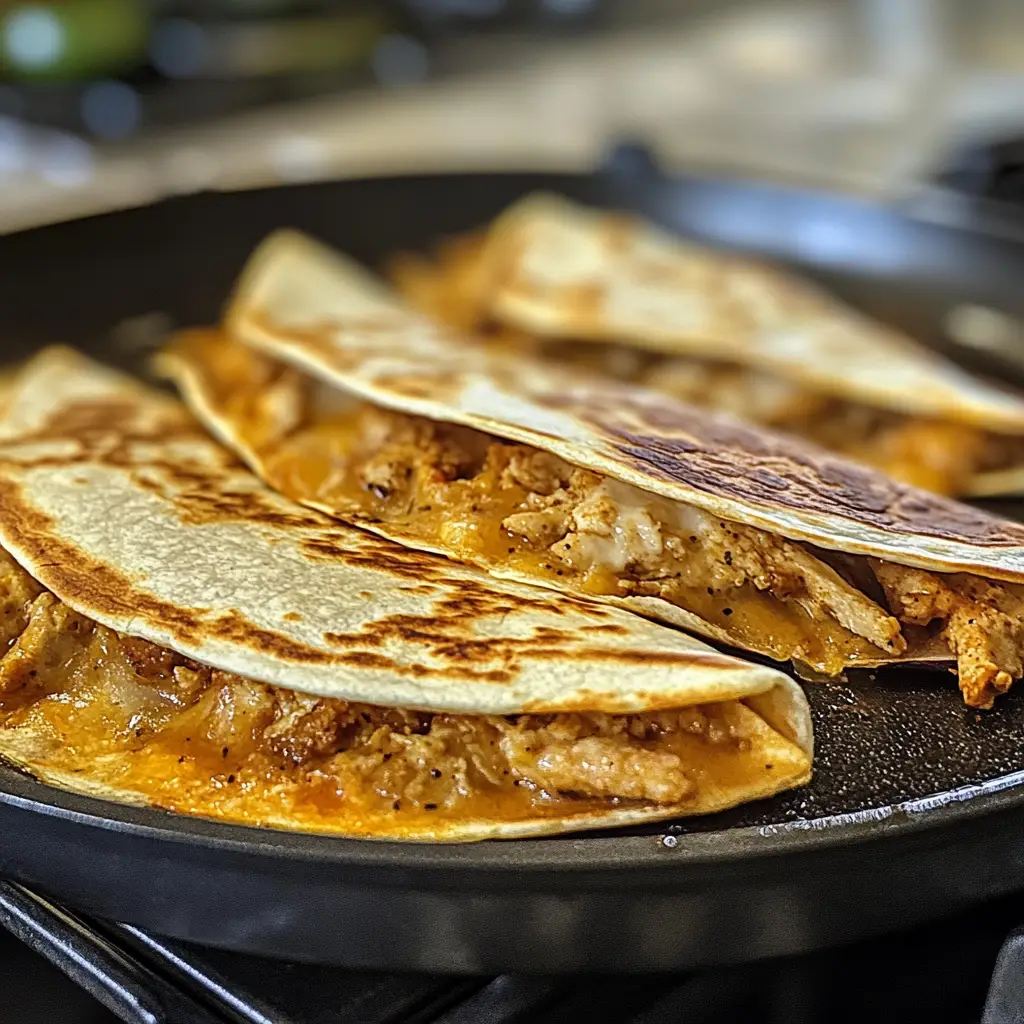
Step 4: Bake to Perfection
Now it’s time to bake! Spray the tops of the quesadillas with cooking spray or brush them lightly with olive oil. This will help them turn golden brown and crispy. Place the baking sheet in the preheated oven and bake for 15-20 minutes. Keep an eye on them; you want that beautiful golden color!
Step 5: Serve and Enjoy
Once they’re out of the oven, let the quesadillas cool for a minute. Then, cut them into wedges for easy serving. Arrange them on a platter and serve with your favorite dips like salsa, guacamole, or sour cream. Your family will be diving in before you know it!
Tips for Success
- Use a non-stick baking sheet for easy cleanup.
- Don’t overfill the tortillas; a little goes a long way!
- Experiment with different cheeses for unique flavors.
- Let the quesadillas cool slightly before cutting to avoid spilling the filling.
- For extra crispiness, flip the quesadillas halfway through baking.
Equipment Needed
- Baking sheet: A standard baking sheet works well, but a non-stick one makes cleanup easier.
- Mixing bowl: Any bowl will do, but a large one gives you space to mix without spills.
- Spatula: A spatula helps in flipping the quesadillas if you choose to do so.
- Cooking spray or brush: Use a spray bottle or a pastry brush for even oil distribution.
Variations of Crispy Baked Quesadillas
- Vegetarian Delight: Omit the chicken and load up on extra veggies like zucchini, mushrooms, or spinach for a fresh twist.
- Spicy Kick: Add jalapeños or a sprinkle of cayenne pepper to the filling for those who love a little heat.
- Southwestern Style: Incorporate black beans, corn, and diced tomatoes for a hearty, flavorful filling.
- Cheesy Broccoli: Mix in steamed broccoli florets with your cheese for a nutritious boost that kids will love.
- Breakfast Quesadillas: Use scrambled eggs, cheese, and diced bell peppers for a delicious breakfast option.
Serving Suggestions for Crispy Baked Quesadillas
- Sides: Pair with a fresh garden salad or Mexican street corn for a colorful plate.
- Dips: Serve with zesty salsa, creamy guacamole, or tangy sour cream for added flavor.
- Drinks: Enjoy with a refreshing iced tea or a classic margarita for a festive touch.
- Presentation: Arrange the quesadilla wedges on a vibrant platter, garnished with cilantro for a pop of color.
FAQs about Crispy Baked Quesadillas
Can I make Crispy Baked Quesadillas ahead of time?
Absolutely! You can prepare the filling and assemble the quesadillas in advance. Just cover them tightly and store them in the fridge. When you’re ready to eat, simply bake them straight from the fridge, adding a few extra minutes to the cooking time.
What can I use instead of flour tortillas?
If you’re looking for alternatives, corn tortillas work well for a gluten-free option. You can also try whole wheat tortillas for a healthier twist. Just keep in mind that cooking times may vary slightly.
How do I store leftover quesadillas?
Store any leftovers in an airtight container in the fridge for up to three days. To reheat, pop them in the oven or an air fryer to regain that crispy texture. Microwaving is an option, but they may lose their crunch.
Can I freeze Crispy Baked Quesadillas?
Yes, you can freeze them! Just make sure they are completely cooled before wrapping them tightly in plastic wrap and placing them in a freezer bag. They can last up to three months. When you’re ready to enjoy, bake them directly from frozen, adding a few extra minutes to the cooking time.
What are some good dipping sauces for quesadillas?
There are so many delicious options! Salsa, guacamole, and sour cream are classic choices. You can also try a spicy chipotle sauce or a creamy ranch dressing for a fun twist. The right dip can elevate your Crispy Baked Quesadillas to a whole new level!
Final Thoughts
Making Crispy Baked Quesadillas is more than just cooking; it’s about creating moments. The joy of gathering around the table, sharing laughter, and enjoying a meal that everyone loves is priceless. This recipe is a canvas for your creativity, allowing you to mix and match flavors that suit your family’s tastes. Plus, the ease of preparation means you can spend less time in the kitchen and more time making memories. So, roll up your sleeves, get those tortillas ready, and let the deliciousness unfold. Your family will thank you, and you’ll feel like a culinary rockstar!
Print
Crispy Baked Quesadillas: Unleash Flavor with Ease!
- Total Time: 30 minutes
- Yield: 4 servings 1x
- Diet: Vegetarian
Description
Crispy Baked Quesadillas are a delicious and easy-to-make dish that combines melted cheese and your choice of fillings, all baked to perfection for a crispy texture.
Ingredients
- 4 large flour tortillas
- 2 cups shredded cheese (cheddar, mozzarella, or a blend)
- 1 cup cooked chicken, shredded (optional)
- 1 cup bell peppers, diced
- 1/2 cup onions, diced
- 1 teaspoon taco seasoning
- Cooking spray or olive oil
Instructions
- Preheat your oven to 400°F (200°C).
- In a bowl, mix the shredded cheese, cooked chicken, bell peppers, onions, and taco seasoning.
- Place one tortilla on a baking sheet and spread a portion of the filling on one half of the tortilla.
- Fold the tortilla over to cover the filling and press down gently.
- Repeat with the remaining tortillas and filling.
- Spray the tops of the quesadillas with cooking spray or brush with olive oil.
- Bake in the preheated oven for 15-20 minutes, or until golden brown and crispy.
- Remove from the oven, let cool slightly, then cut into wedges and serve.
Notes
- Feel free to customize the fillings based on your preferences.
- Serve with salsa, guacamole, or sour cream for dipping.
- For a vegetarian option, omit the chicken and add more vegetables.
- Prep Time: 10 minutes
- Cook Time: 20 minutes
- Category: Appetizer
- Method: Baking
- Cuisine: Mexican
Nutrition
- Serving Size: 1 quesadilla
- Calories: 300
- Sugar: 2g
- Sodium: 500mg
- Fat: 15g
- Saturated Fat: 8g
- Unsaturated Fat: 5g
- Trans Fat: 0g
- Carbohydrates: 30g
- Fiber: 2g
- Protein: 12g
- Cholesterol: 30mg
Keywords: Crispy Baked Quesadillas, Easy Quesadillas, Baked Quesadillas Recipe